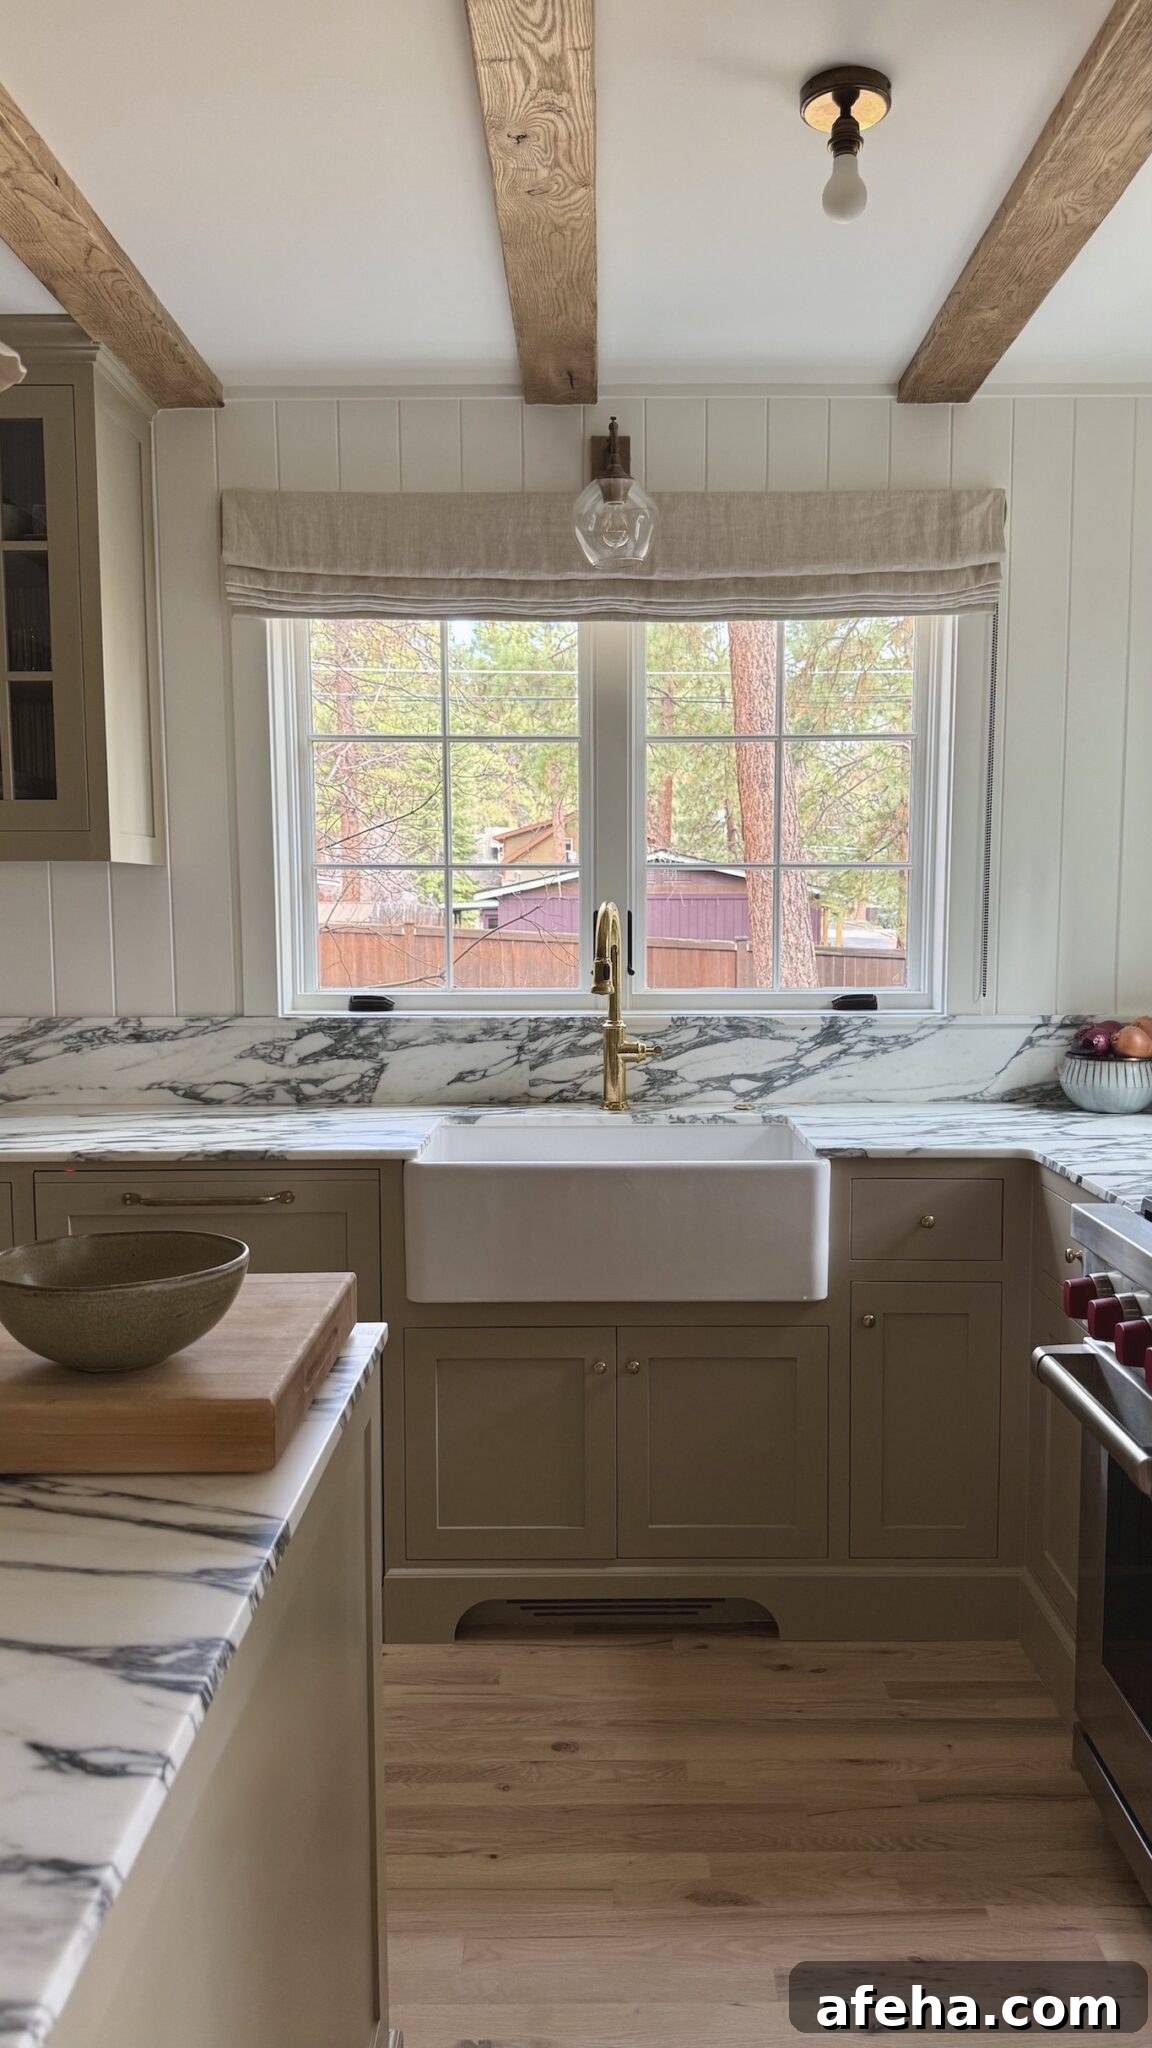
It’s been just over a year since we finished our kitchen renovation. If you follow me on Instagram, you’ve probably seen bits of the space already; if not, welcome. I planned to share this tour sooner, but delaying the post turned out to be valuable. After cooking hundreds of meals here, I’ve learned exactly how the design performs in daily life and can confidently recommend which choices worked and why.
I truly love working in this kitchen and I’m excited to share the full tour, with sources, details, and the main lessons we learned from the project.
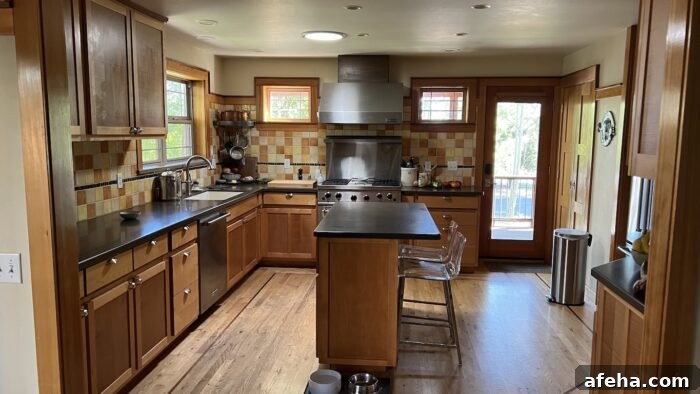
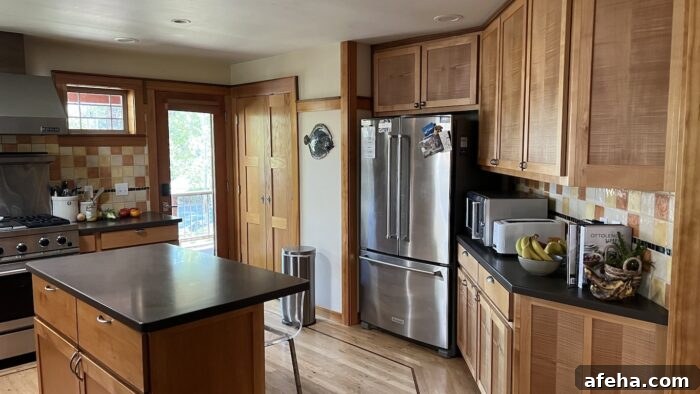
The Before and Why We Renovated
Our original kitchen was sturdy and the basic layout worked, but several issues pushed us toward a full remodel:
- Aesthetics: The room was dominated by yellow and orange tile—colors I never liked—so updating the finishes was a top priority.
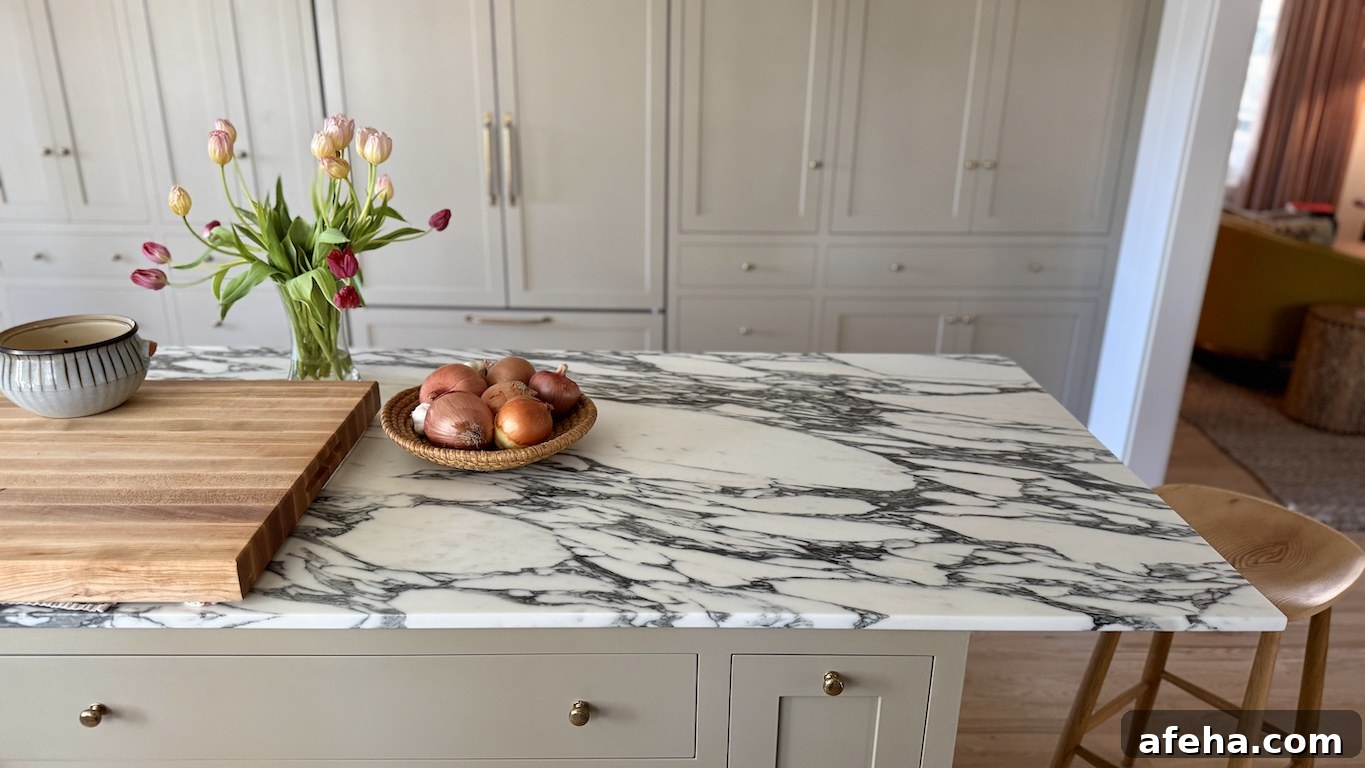
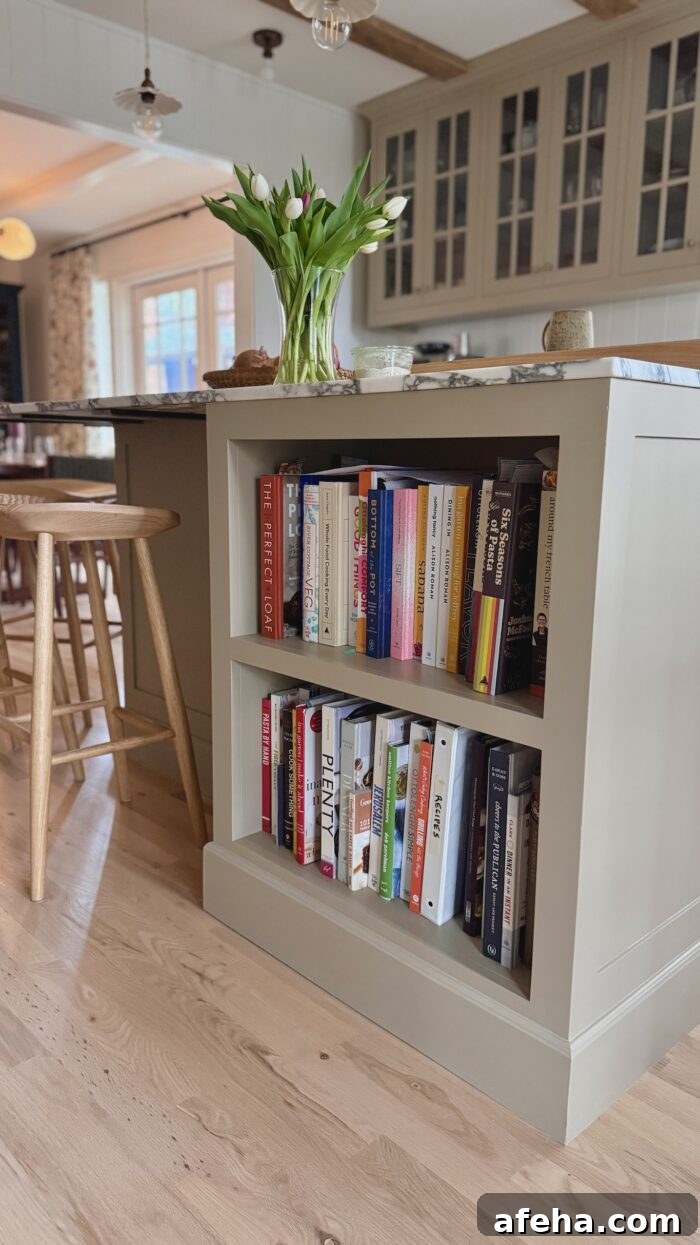
- Layout: A strange 45-degree wall limited island size and disrupted the flow to the living room. Squaring that wall opened up the space and allowed a much larger island (36″ x 78″) with comfortable seating.
- Flooring: The main-level hardwood needed refinishing. Changing the kitchen layout let us remove the old inlay and weave new wood into the existing floors for a much cleaner transition.
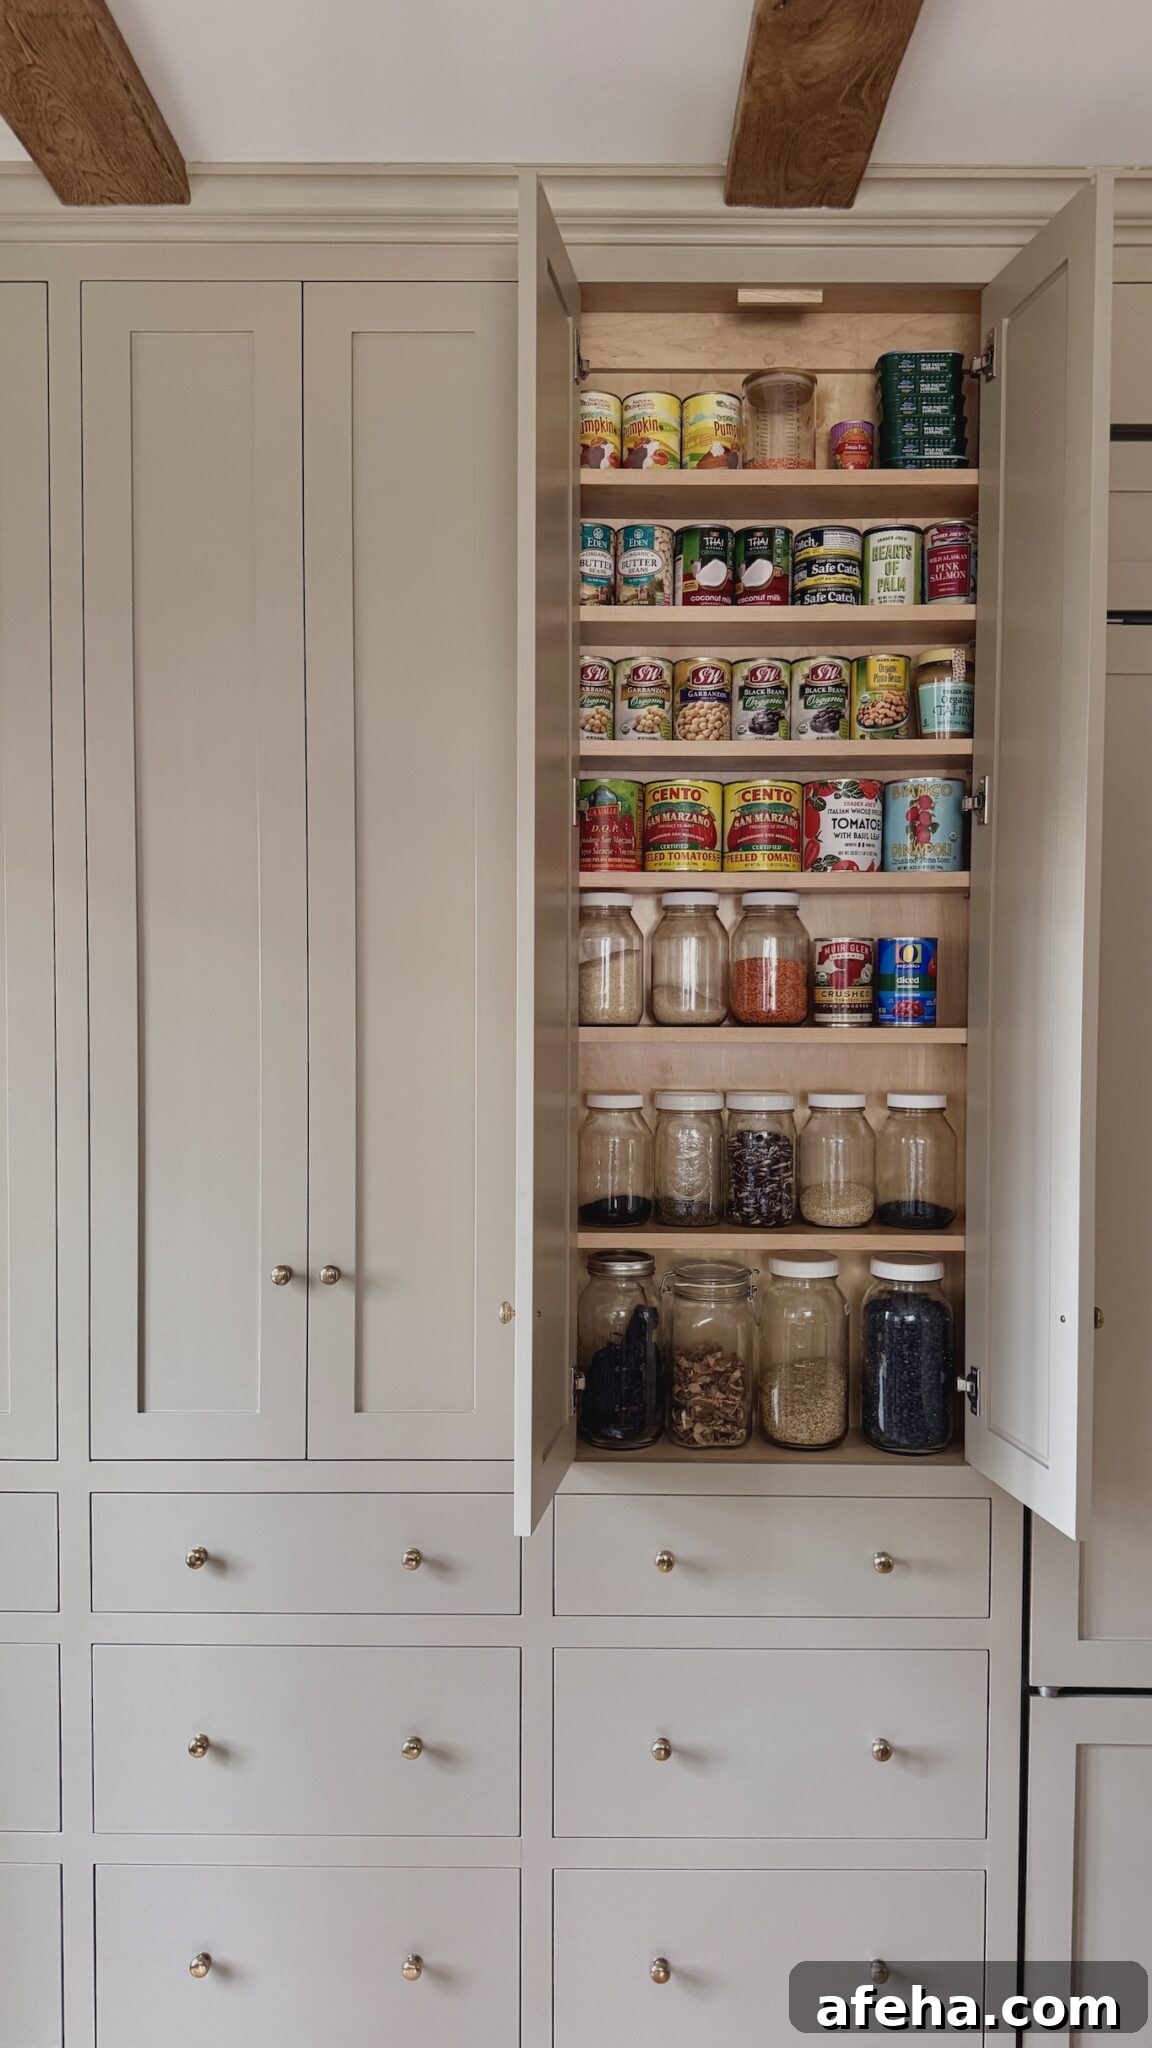
- Functionality: Storage was decent but could be improved. We also needed more outlets on the island and additional dedicated circuits for high-powered appliances.
- Appliances: The existing range was failing and unserviceable. I wanted a wider range with two ovens if we replaced it.
- Light: Bringing in larger windows to increase natural light made a dramatic difference in how the whole house feels.
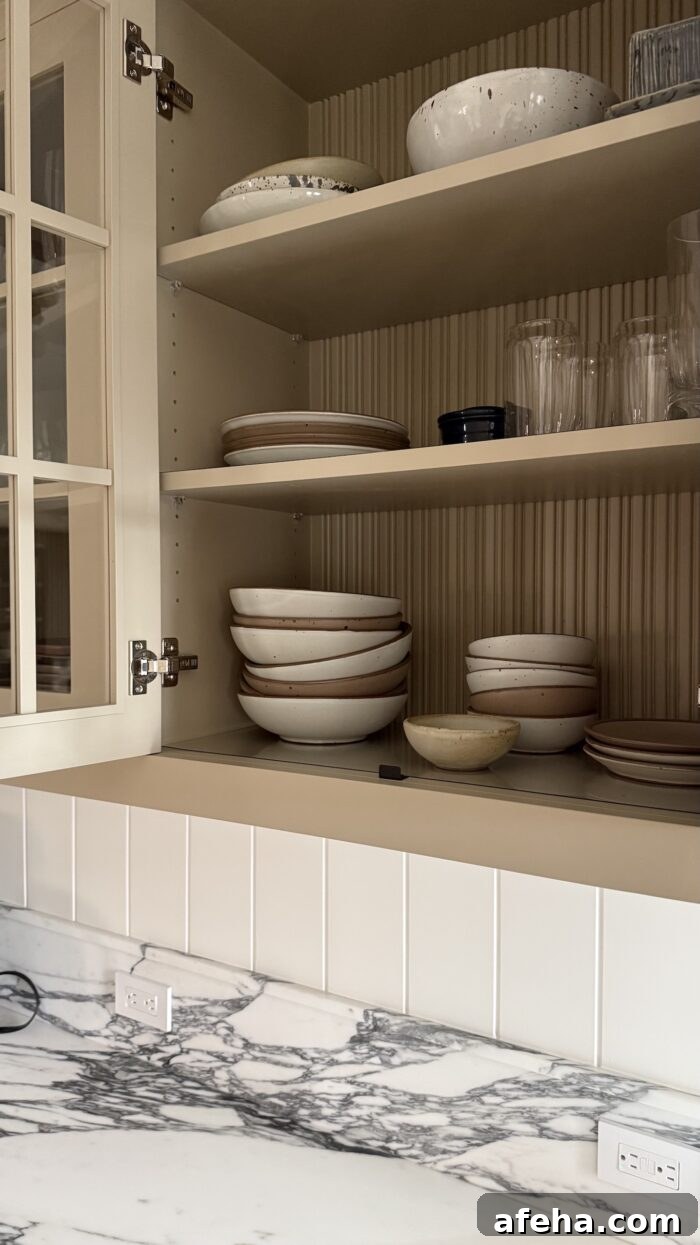
I envisioned a classic English-style kitchen, inspired by traditional makers and designers. I wanted some bold materials—veined marble, natural stone, glass-front uppers, tongue-and-groove paneling, unlacquered brass, and wooden beams—to add depth and a timeless quality.
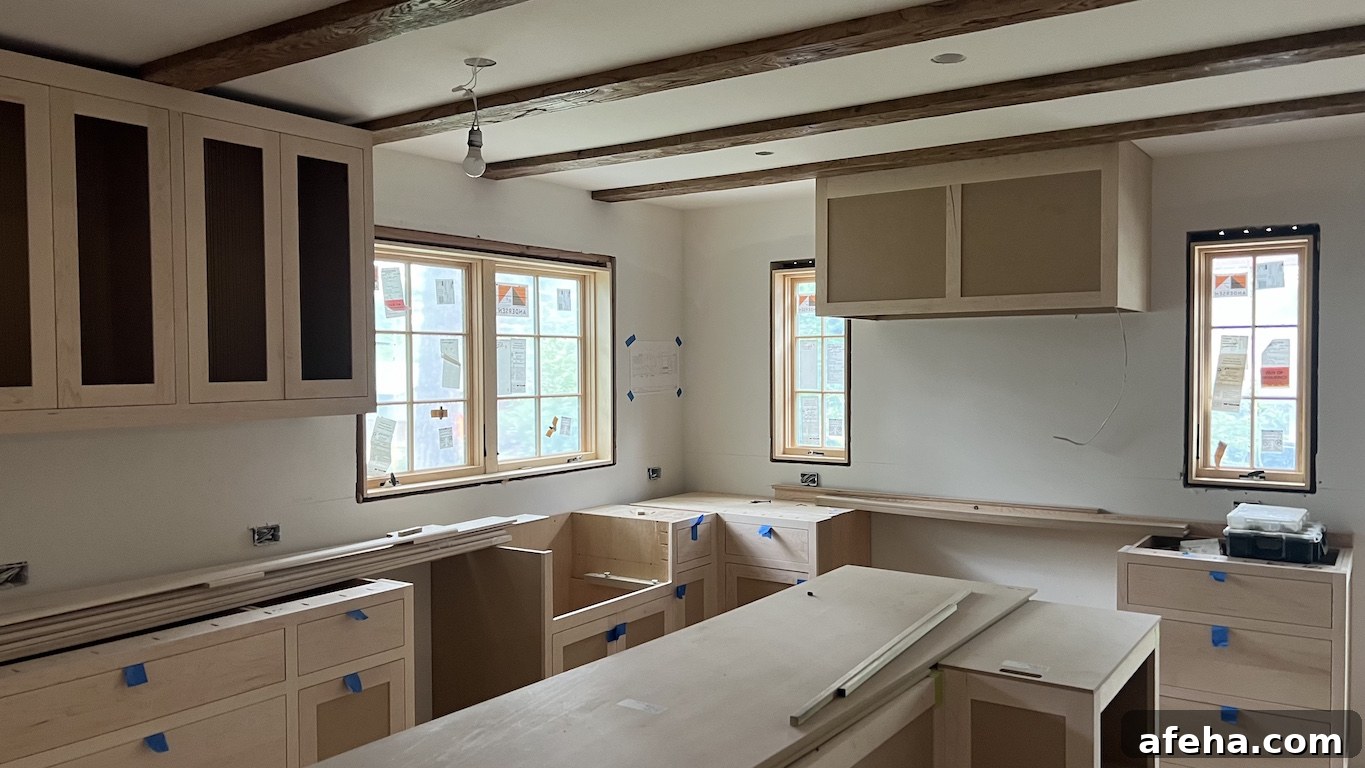
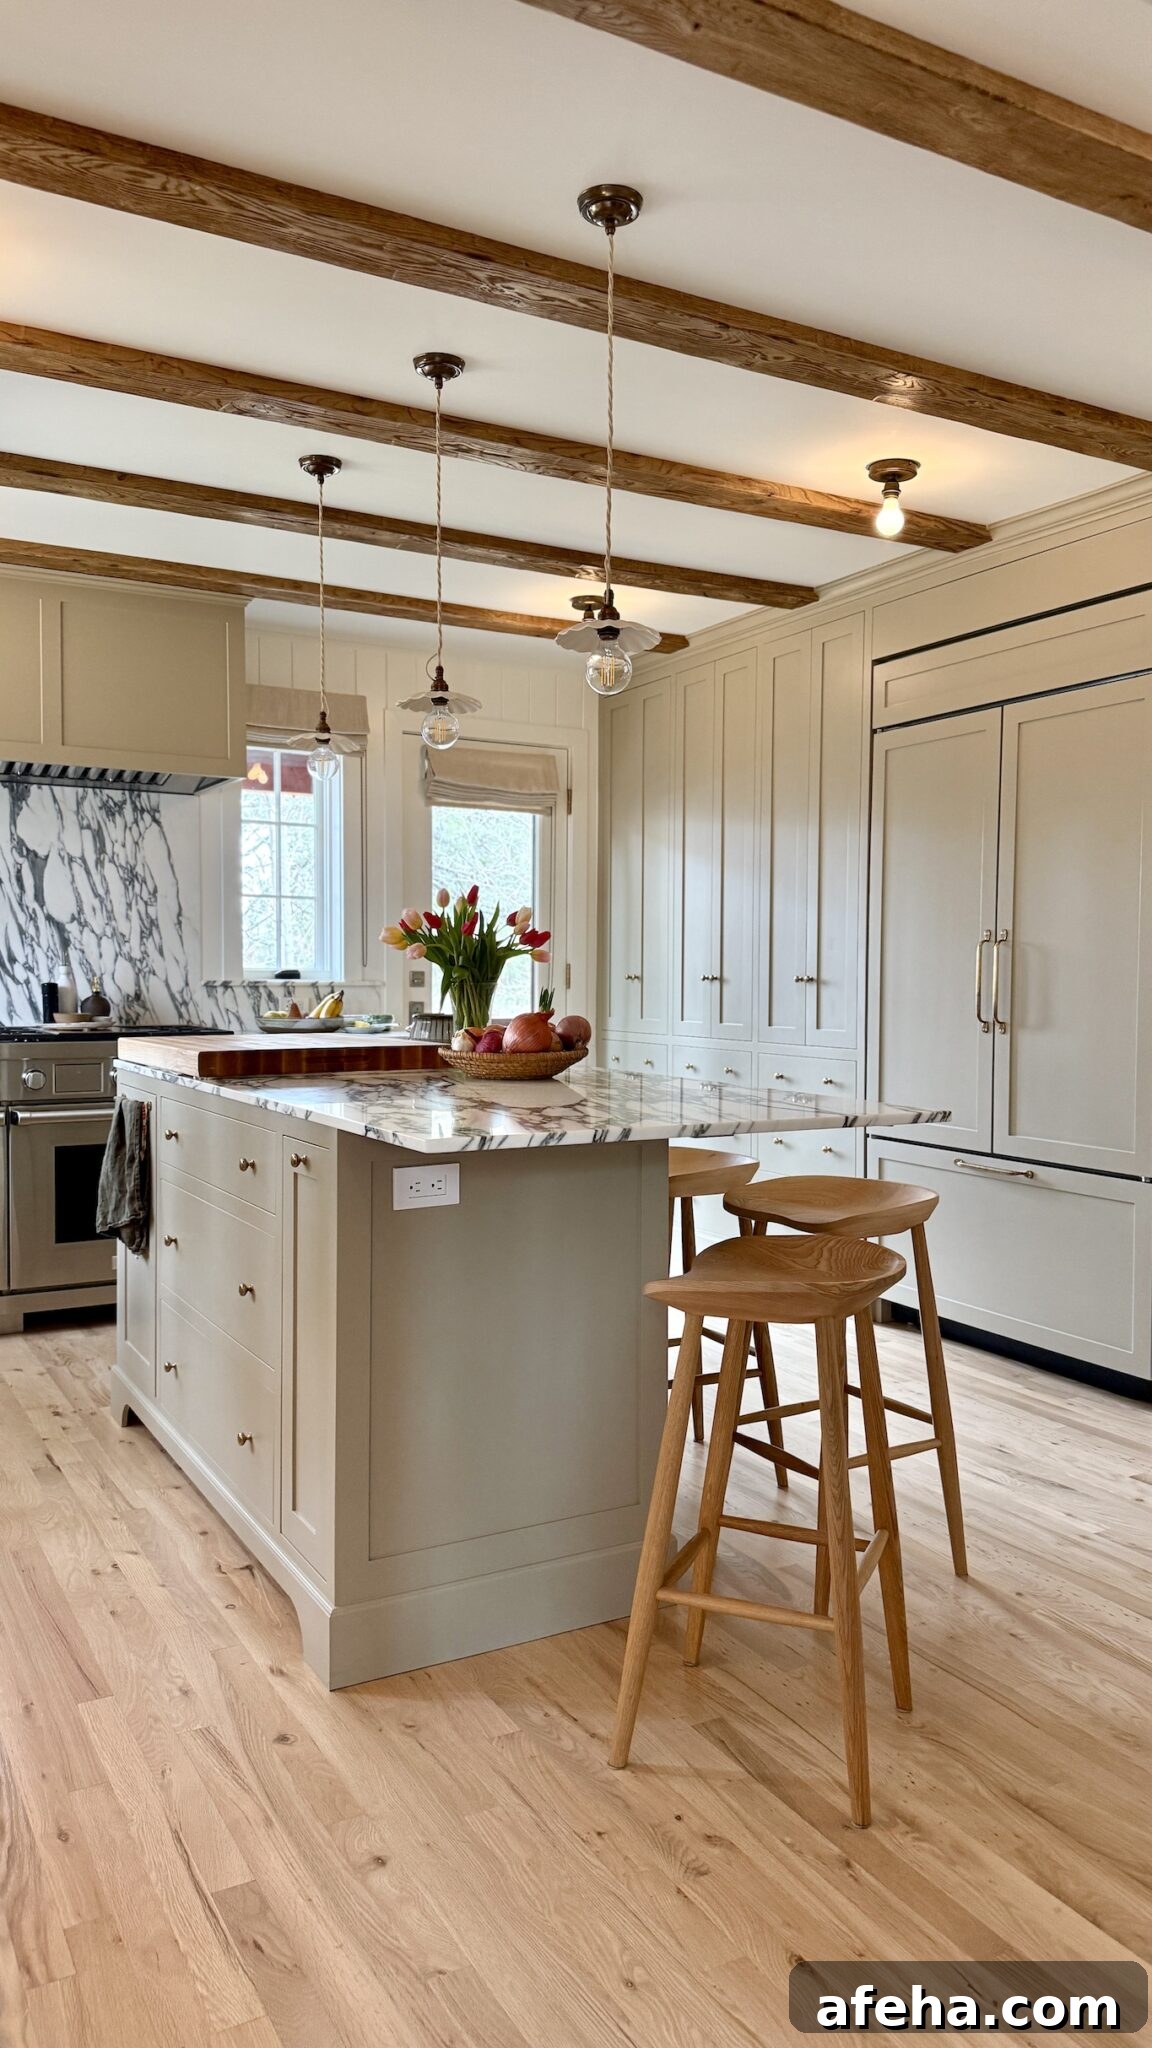
The After: What We Learned
The finished kitchen is much brighter and, somehow, the ceilings feel taller even though they’re just under eight feet. The renovation transformed the space and we’re extremely pleased with the result.
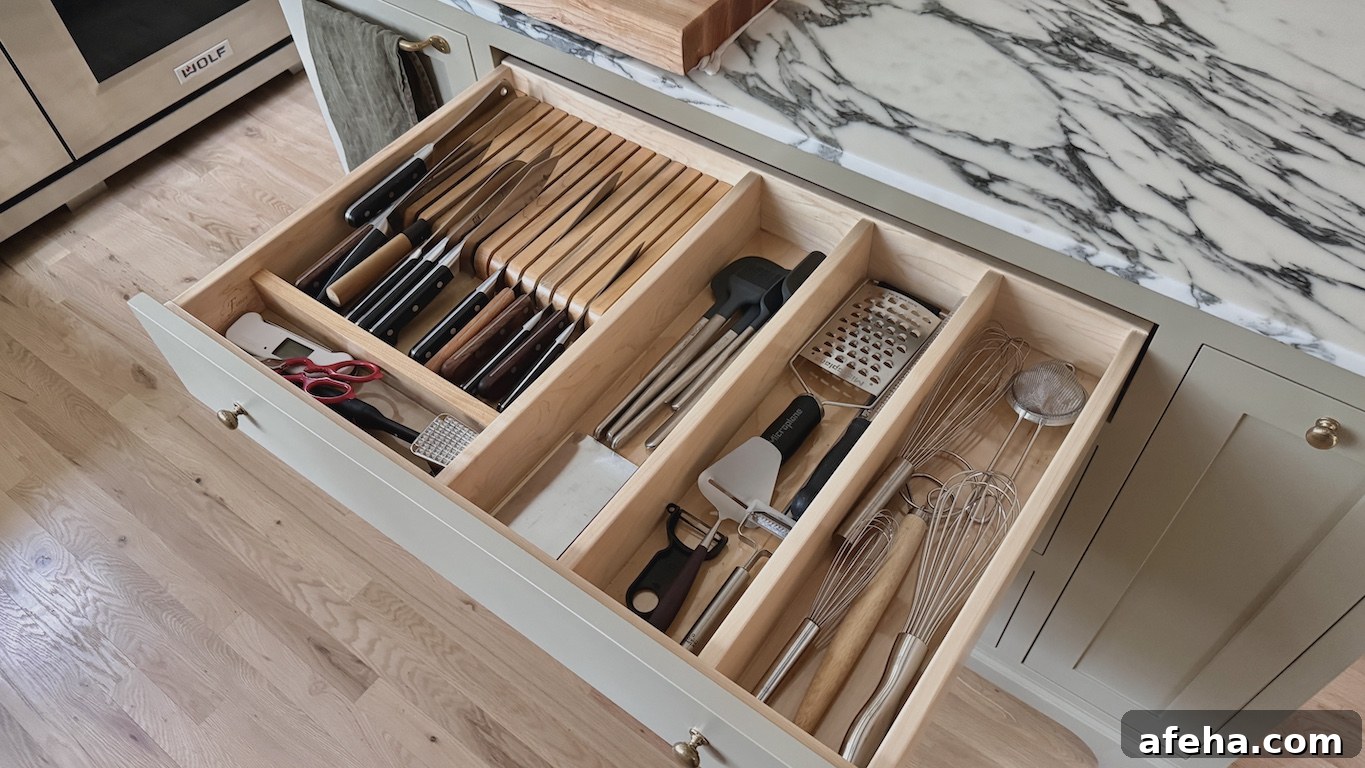
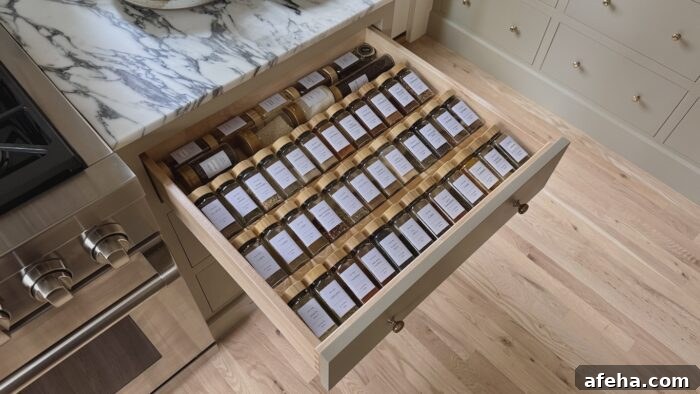
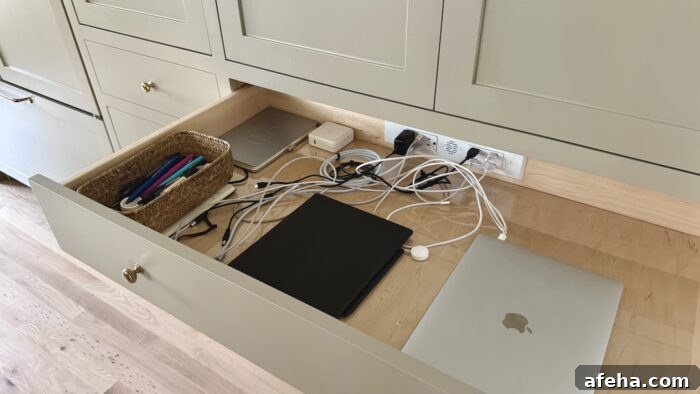
A full gut renovation is disruptive and stressful—ours was part of a larger home project and took a long time. Looking back it was worth the stress, though I don’t plan to do this again anytime soon. I care deeply about functionality, and I’m grateful our kitchen performs exactly as I hoped: cozy, beautiful, and highly intentional. I agonized over many choices to make daily tasks efficient and low friction.
Four principles guided the process:
- Patience: We lived in the original kitchen and studied our needs before changing anything. Waiting through contractor schedules and lead times forced us to delay gratification, which resulted in choices we didn’t regret.
- Planning: Months of detailed planning with an experienced builder, subcontractors, and an interior designer minimized mistakes. The designer focused on materials, lighting, and scale, while tradespeople managed logistics and code details. Both perspectives were essential.
- Hands-on oversight: I stayed involved in daily decisions. No one cares about the tiny details as much as the homeowner. Staying engaged—especially with cabinetry layout, drawer widths, pocket doors, and insert details—paid off.
- Trust your instincts: Tradespeople sometimes push for familiar, easier options. Don’t surrender the things that matter most to you, but also learn when to trust an experienced tradesperson. Research, listen, and make informed decisions you can live with.
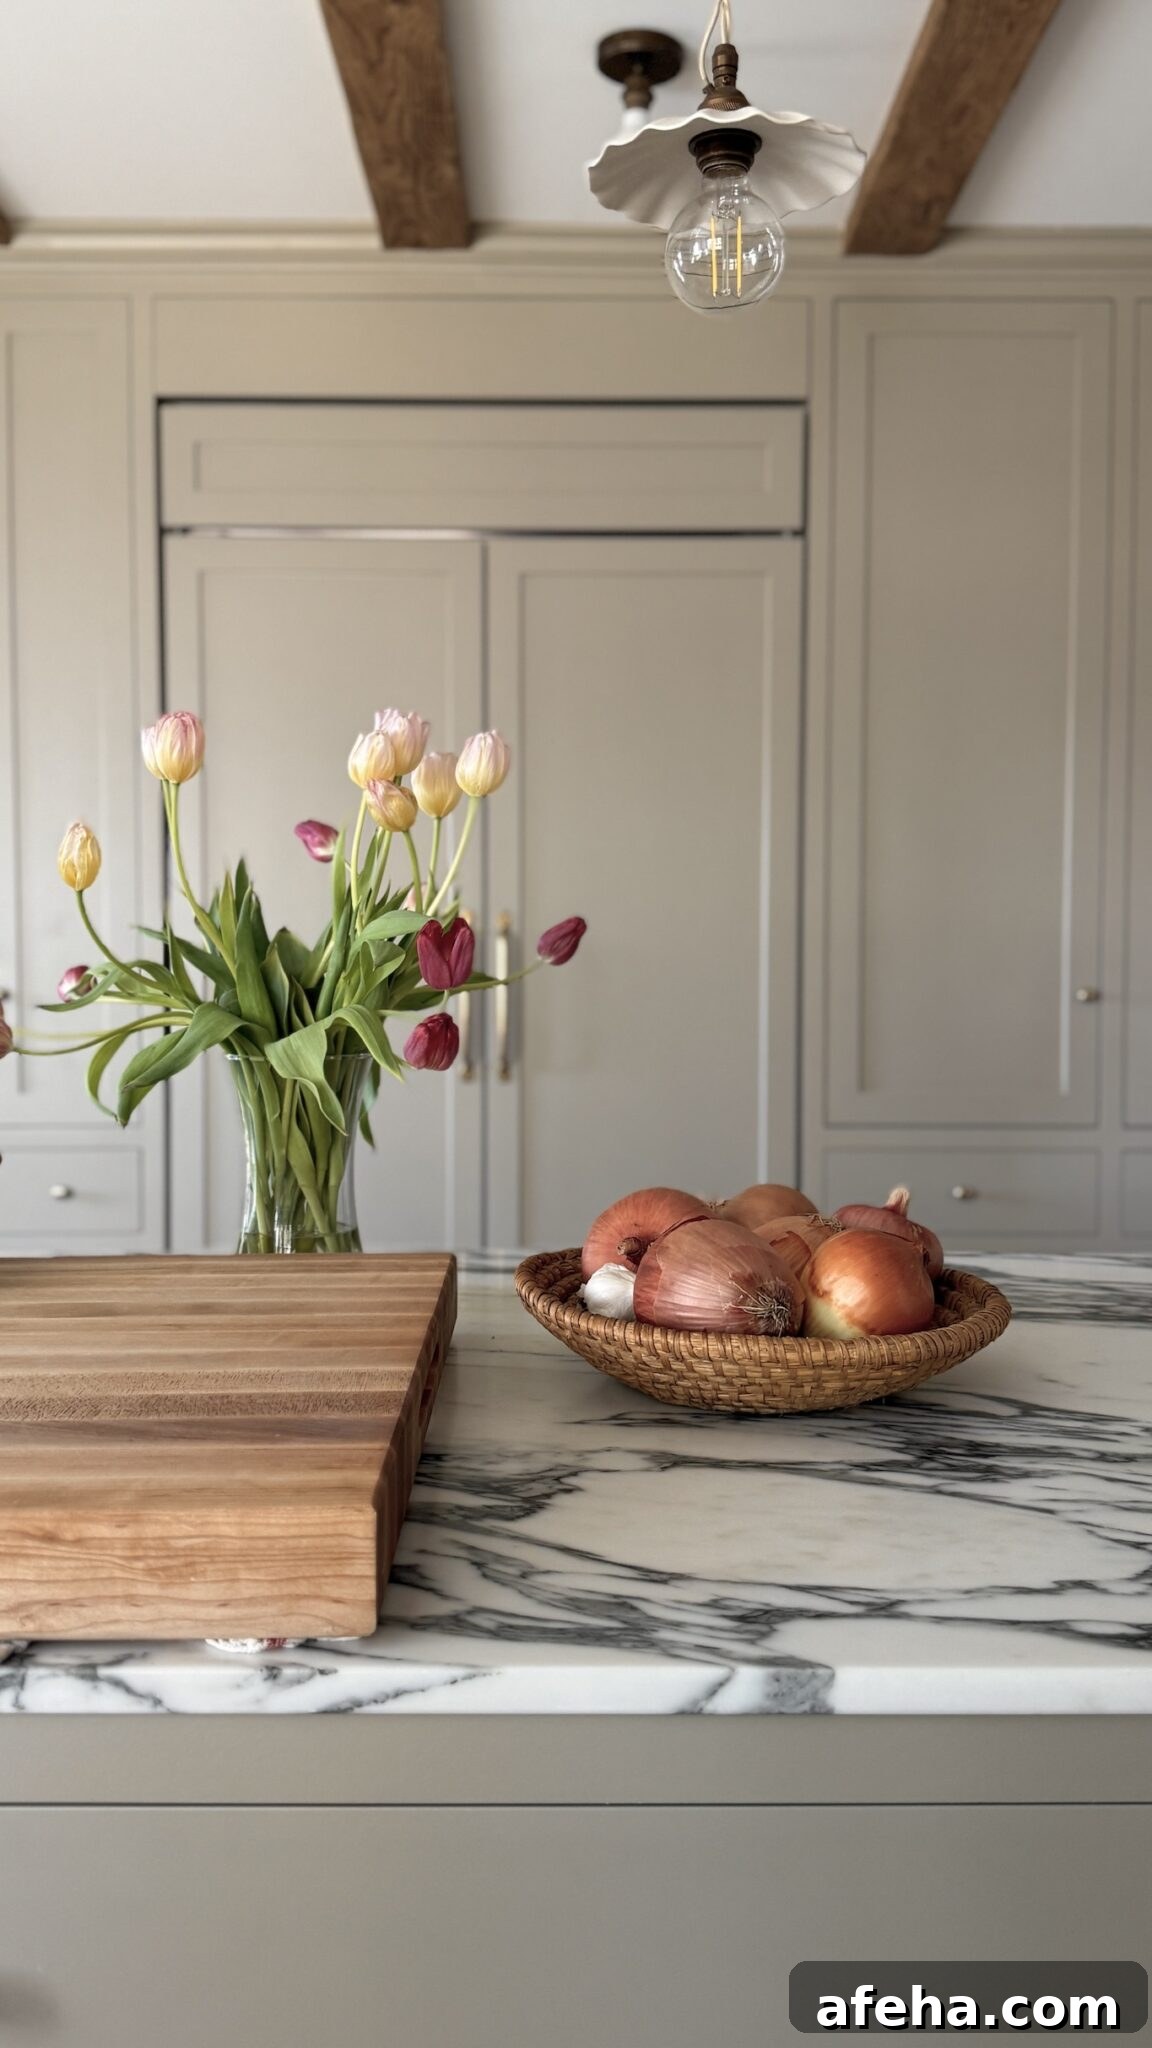
Sources: Paint, Hardware, Fixtures & Other Details
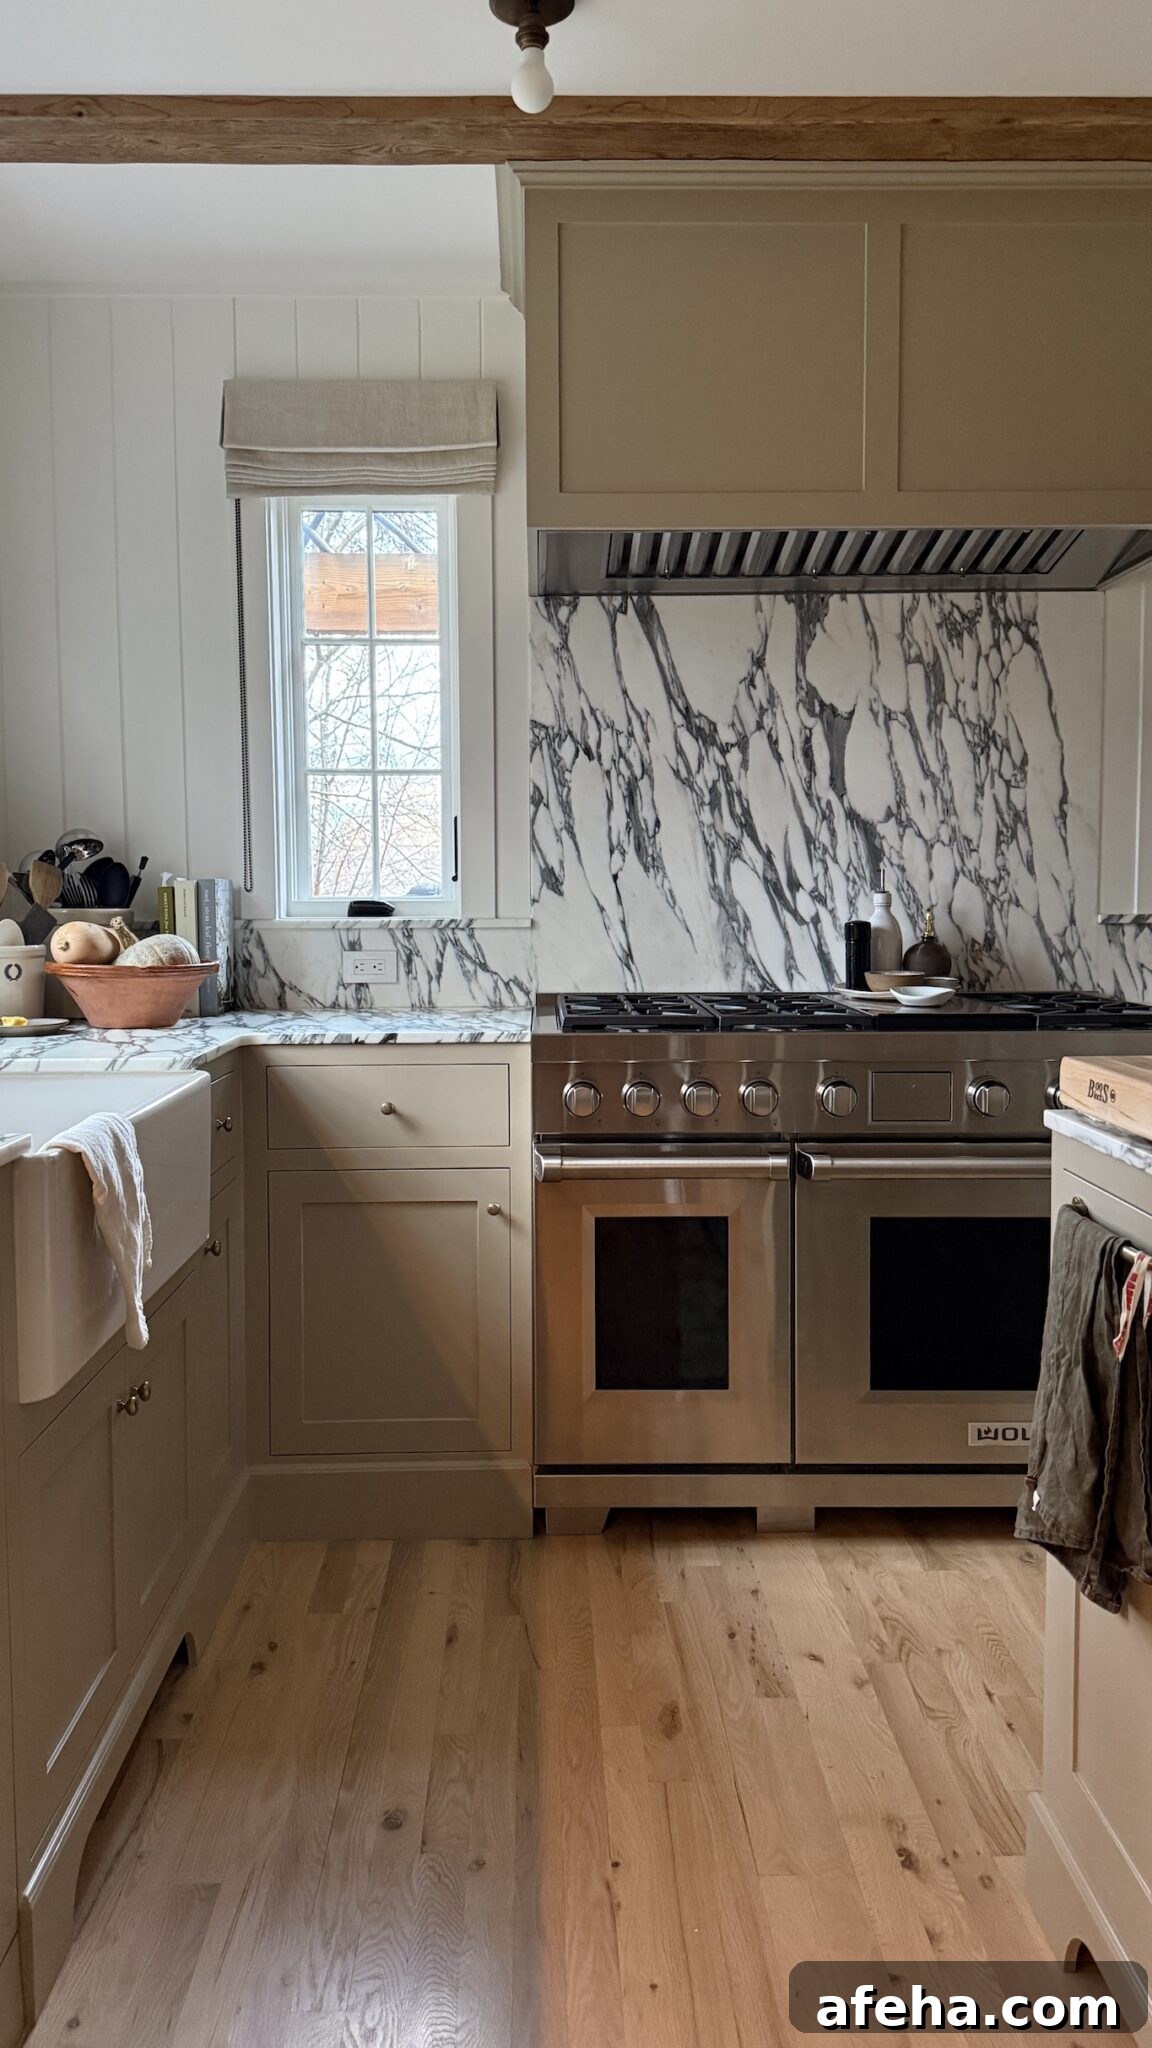
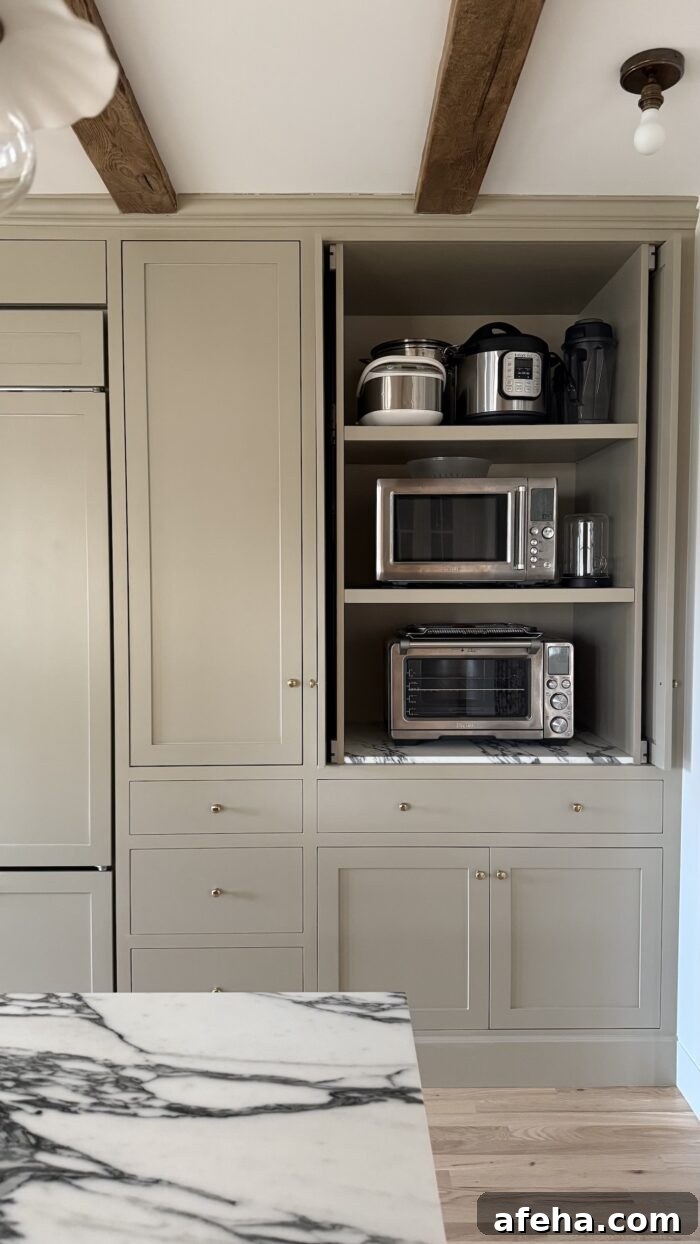
- Cabinet paint: Portola French Beige in satin enamel—warm khaki with subtle green undertones. Get paint samples and confirm application details with your painting crew, especially with specialty brands.
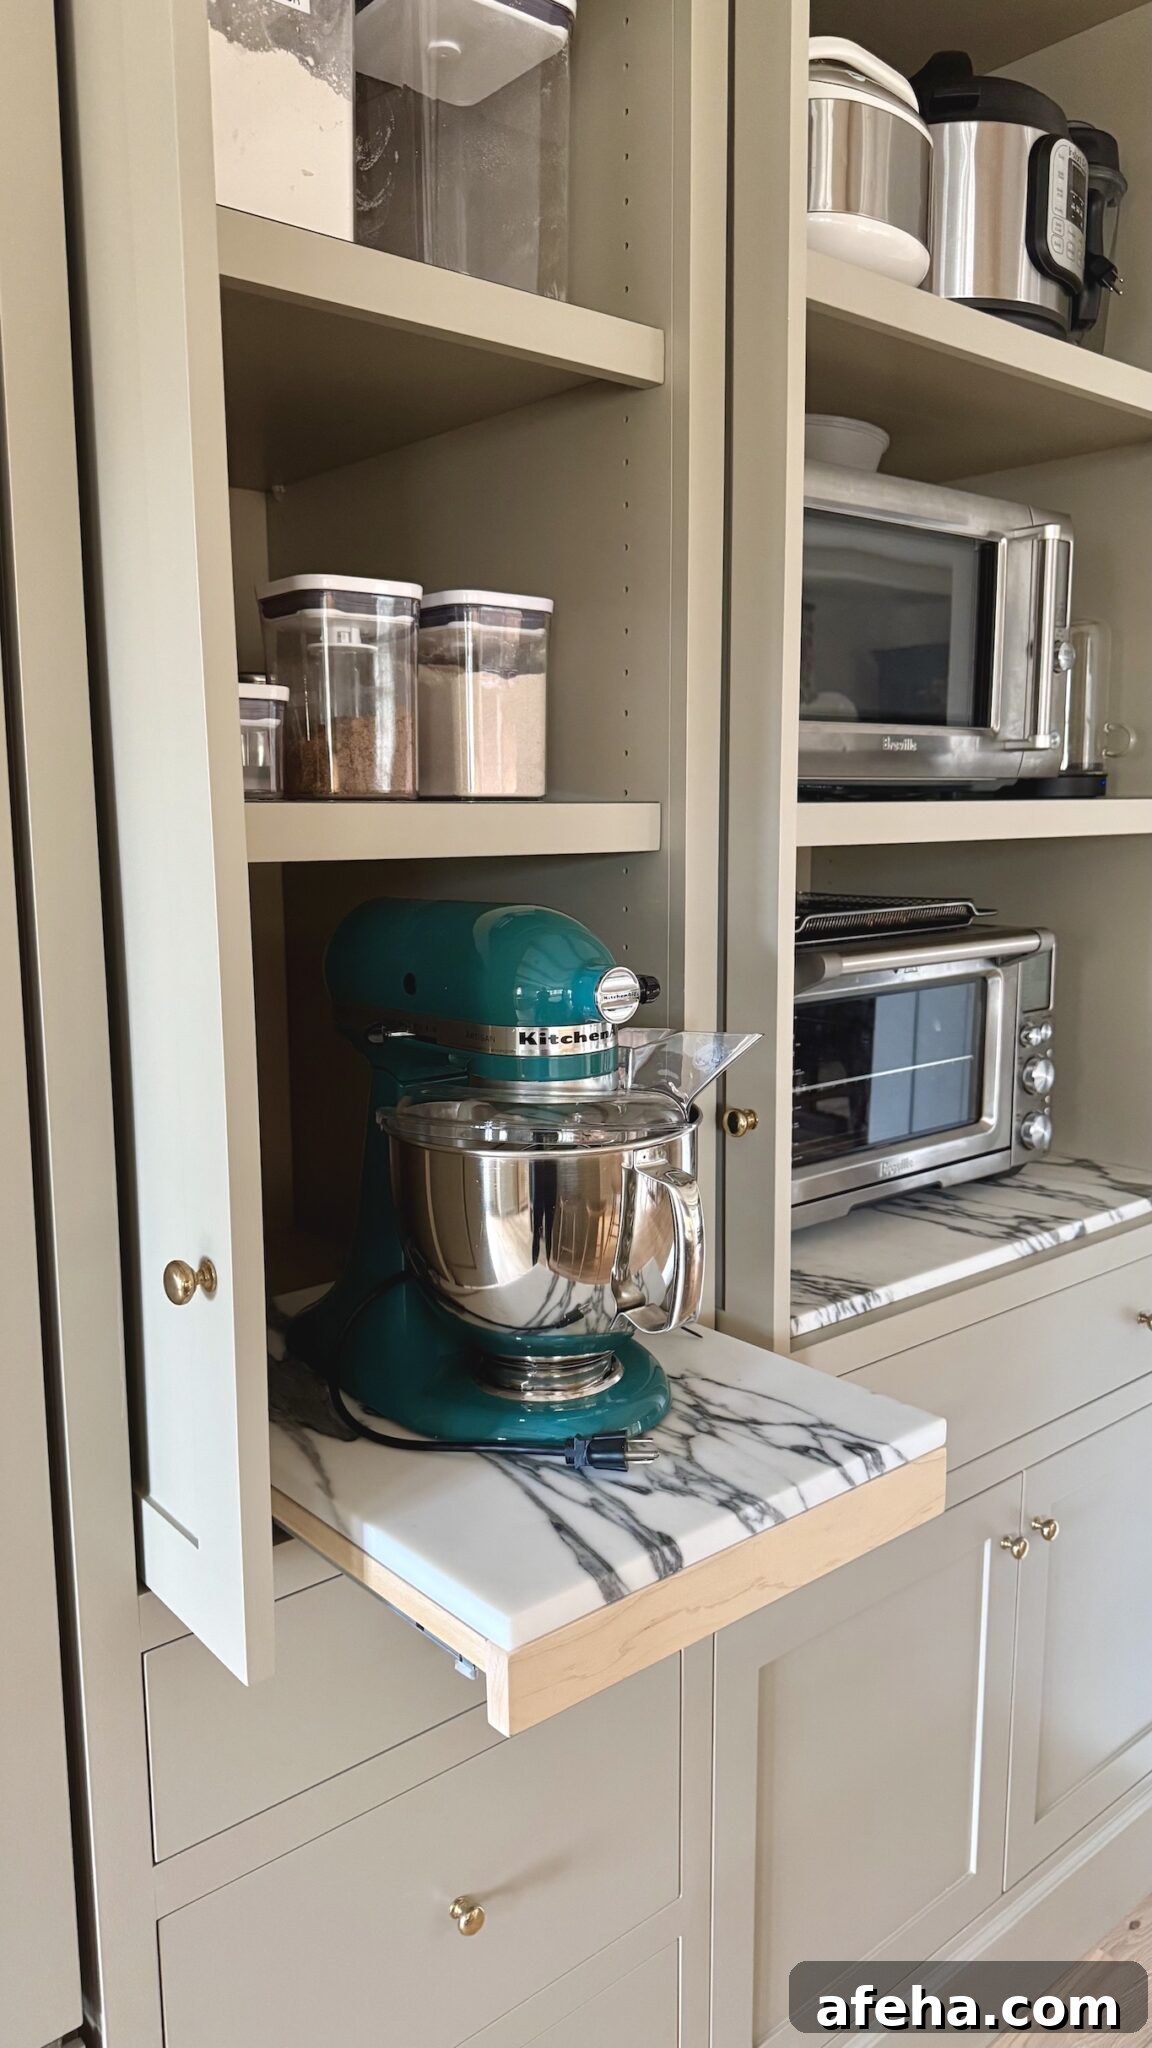
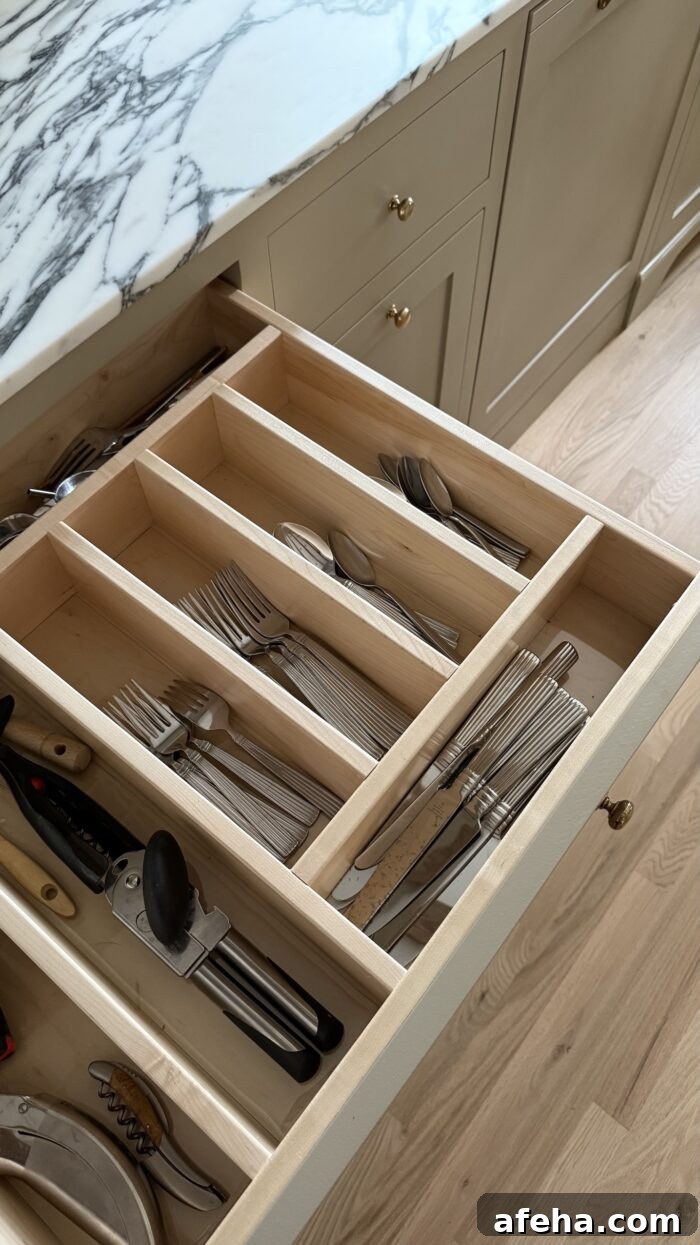
- Cabinet style: Inset cabinetry with Shaker doors and a furniture base. We avoided standard toe kicks in many areas and added arched toe kicks at major workstations. Heavy-duty glides were used for drawers that store cookware.
- Countertops: Calacatta Arabescato Corchia marble. Veining varies widely between slabs, so I contacted multiple slab yards to find the look I wanted and arranged shipping through a trusted supplier.
- Countertop protection: We had a professional anti-etch treatment applied to protect the marble from staining and etching. It’s an investment but it lets us enjoy the stone without constant worry.
- Appliances: A 48-inch dual-fuel range with griddle, a professional hood liner, a 42-inch panel-ready refrigerator, and a high-end dishwasher. I chose brands based on performance, service reputation, and local technician availability. Testing how dishes fit in your dishwasher is a surprisingly useful step.
- Trash and recycling: Two double-bin pullouts—one in the island for prep waste and another on the opposite wall for glass and compost—have made sorting easier day-to-day.
- Electrical and lighting: All lights are on dimmers with 2700K bulbs. Under-cabinet lighting for the glass uppers is used daily. Plan plug locations carefully and include enough dedicated circuits for high-wattage appliances.
- Hardware: Heirloom-style unlacquered brass knobs and pull handles that age gracefully and add warmth to the cabinetry.
- Faucet and sink: A pull-down brass faucet paired with a 30-inch fireclay farmhouse sink for convenience and classic looks.
- Lighting fixtures: Porcelain pendant lights over the island and vintage-inspired flush mounts on the ceiling provide traditional style without relying on recessed lighting.
- Seating: Comfortable backless stools chosen for both form and function at the island.
Organization Sources
- Drawer and cabinet liners: Custom-cut vinyl liners in varying thicknesses for regular drawers and heavy-cookware drawers. They lay flat, are easy to clean, and preserve the drawer finish.
- Spice storage: I used uniform containers to create a tidy visual system; if you prefer not to buy specialty jars, replacing spices with a consistent brand and refilling from bulk works well.
- Pot and pan protectors: Simple felt protectors for stacking cookware; they’re affordable and effective, though slightly thicker options can feel more durable.
If you have questions about any element of the renovation, feel free to ask in the comments—I’ll do my best to answer.