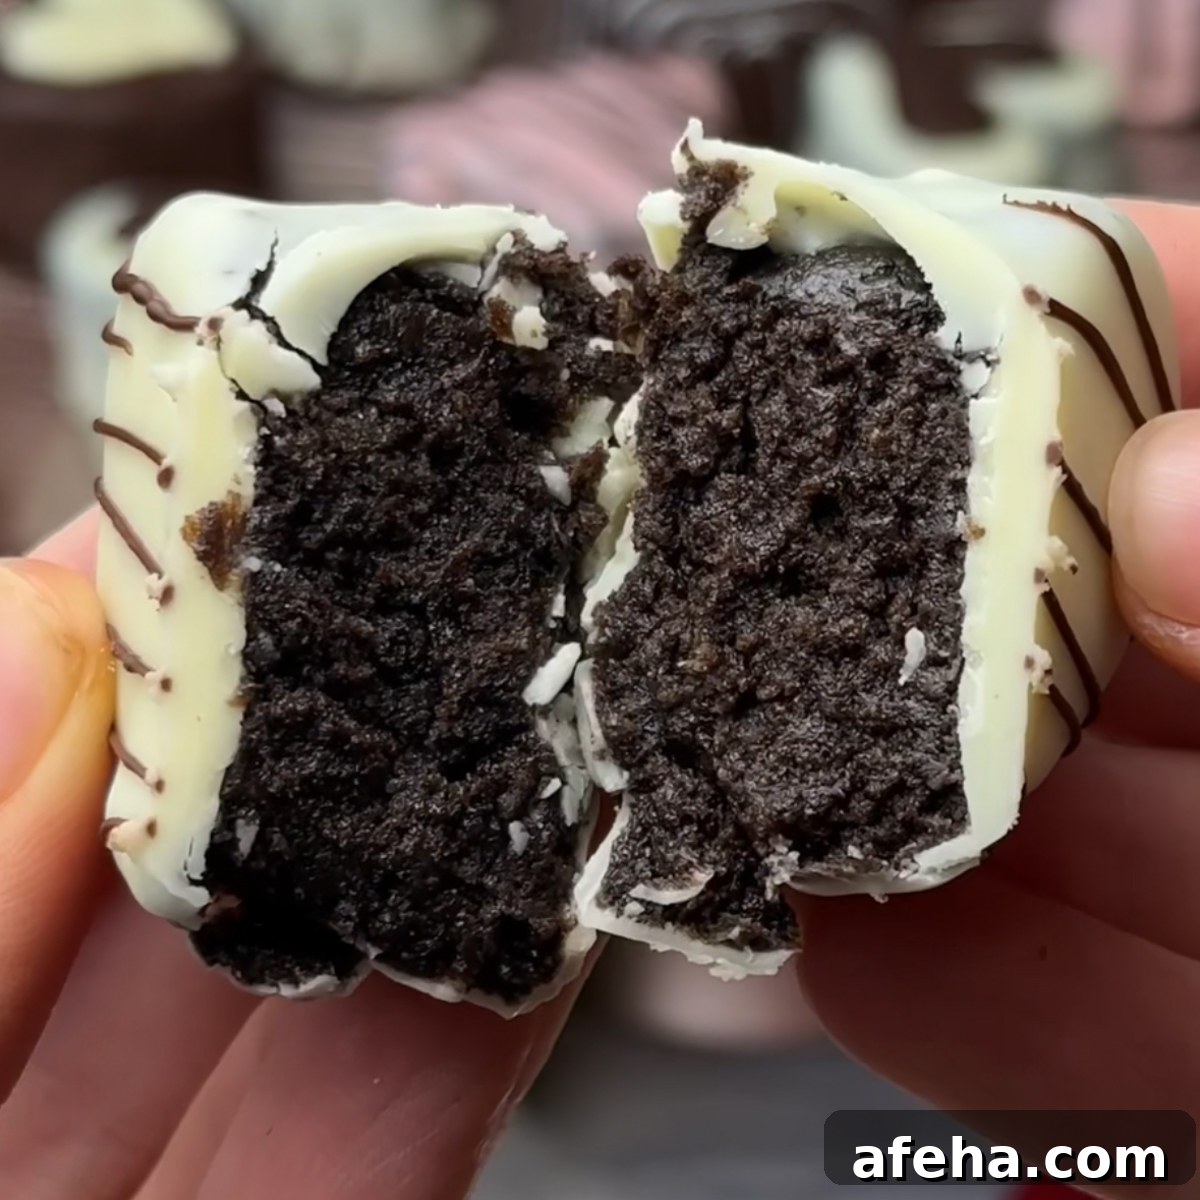
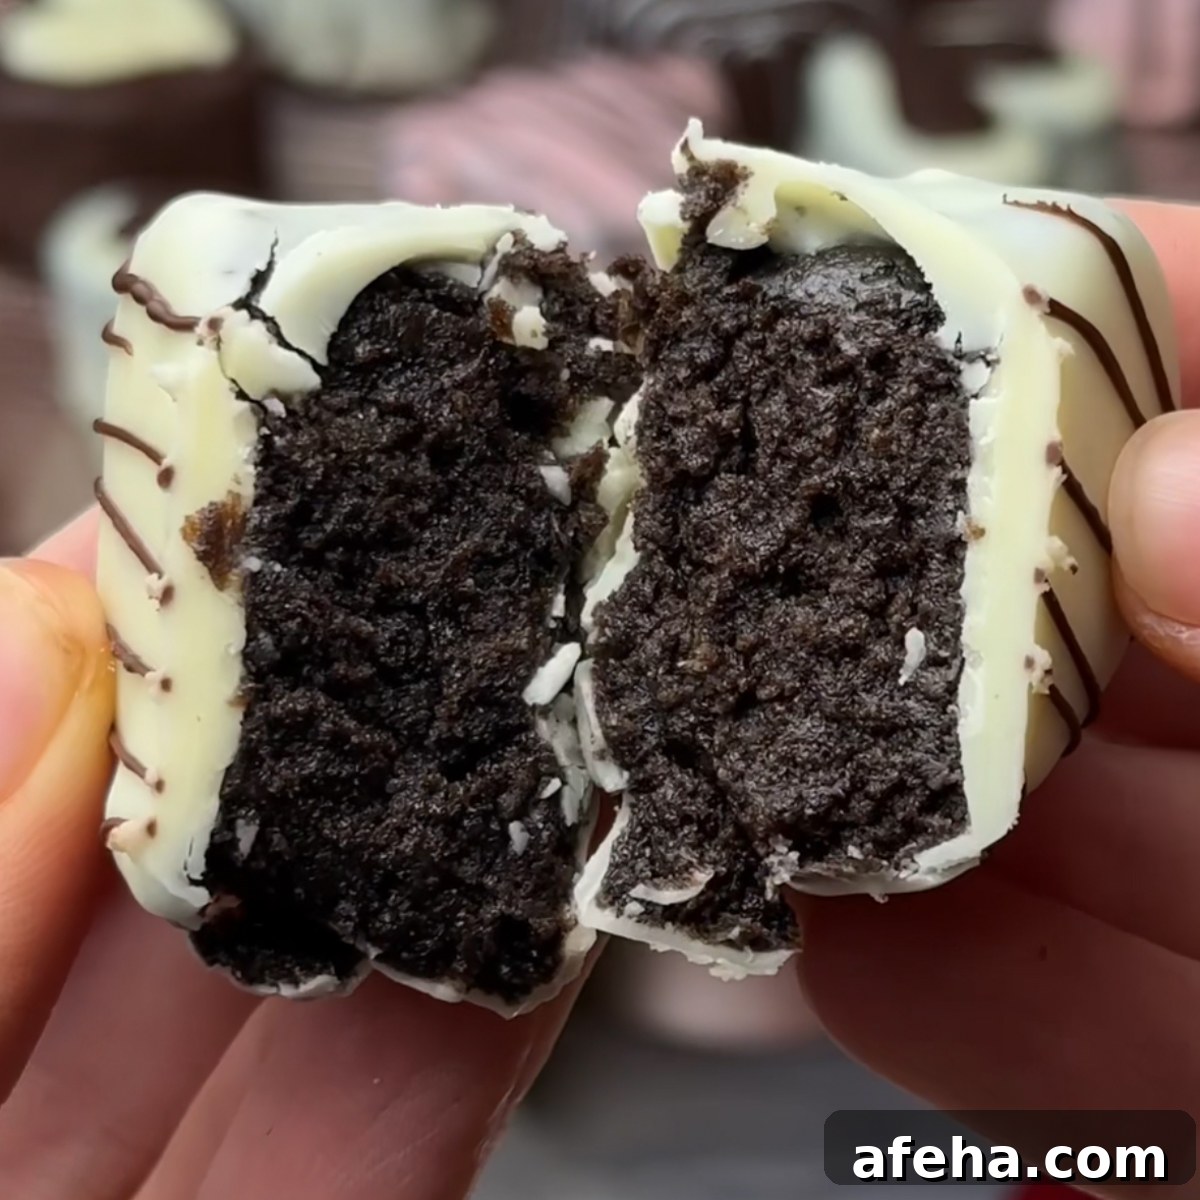
Welcome to the delightful world of Oreo cheesecake truffles — a simple, no-bake treat made from just three main ingredients. If you love the creaminess of cheesecake and the familiar cookie flavor of Oreos, these truffles are for you. Made with crushed Oreos, softened cream cheese, and melted chocolate, they’re quick to prepare, fun to decorate, and perfect for satisfying a sweet craving without turning on the oven.
This easy recipe takes under 30 minutes of hands-on time and delivers a crowd-pleasing dessert ideal for parties, holidays, birthdays, or an everyday sweet bite. You can shape them into hearts, balls, or bite-sized squares and coat them in dark, milk, or white chocolate. Add sprinkles, chopped nuts, or colored drizzle to match any occasion.

These truffles are incredibly adaptable. Make them as a romantic Valentine’s treat, a festive holiday gift, or a quick after-dinner dessert. They also pair wonderfully with creamy or savory dishes if you want to serve a balanced menu. Store them in the fridge for easy access or freeze for longer storage.
Ingredients for Oreo Cheesecake Truffles
- Oreos
- Softened cream cheese
- Chocolate (semi-sweet or milk)
- Optional: white chocolate and sprinkles for decoration
See the recipe card below for exact quantities and yields.
Instructions
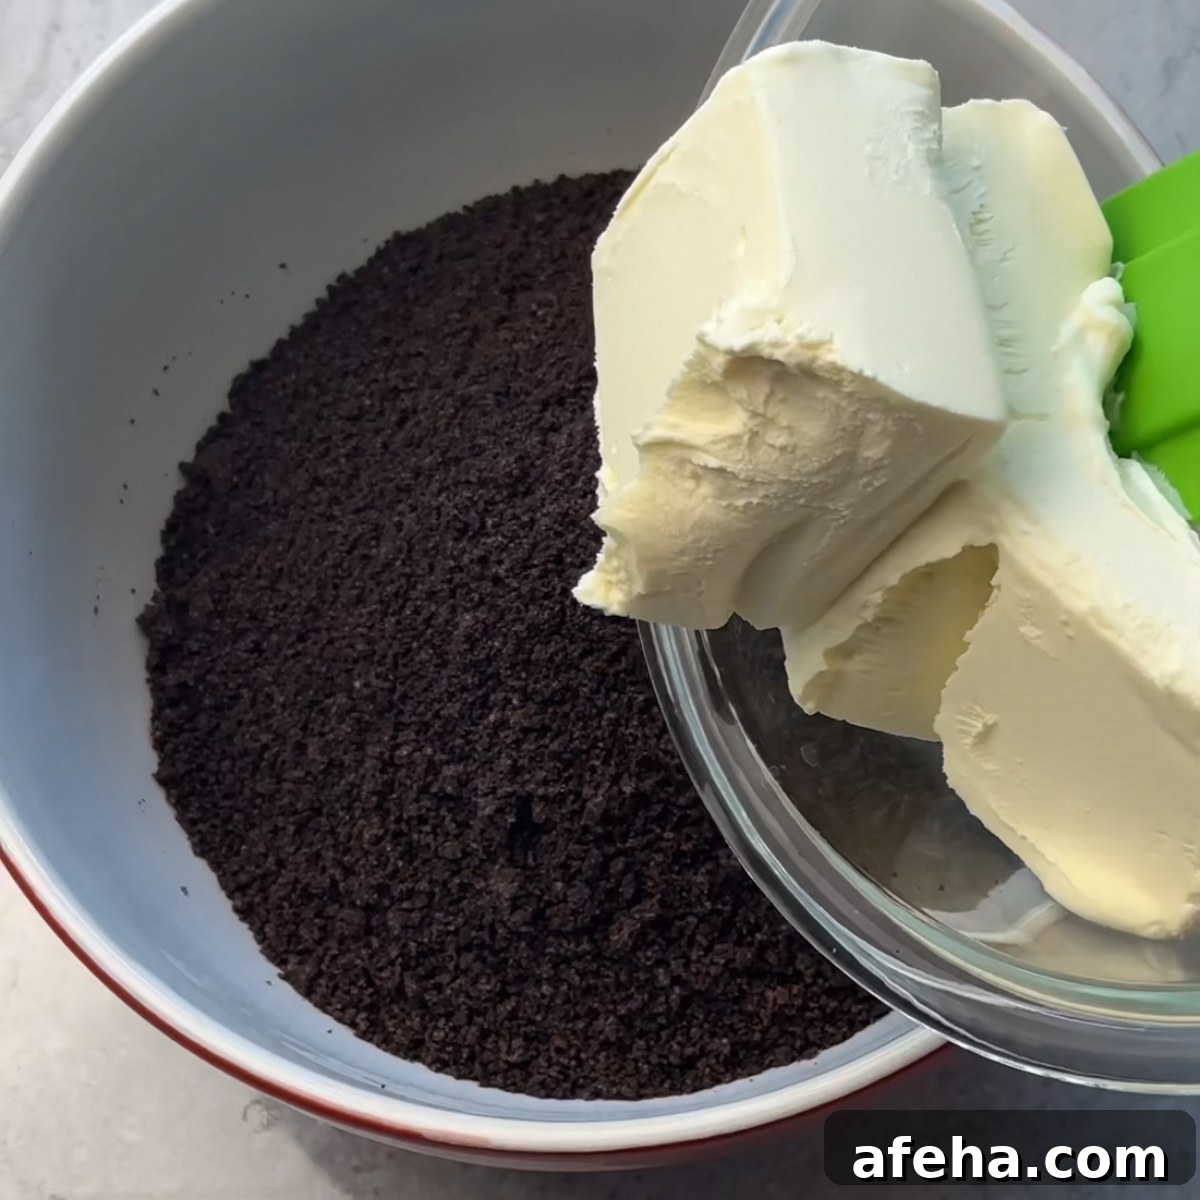
Add softened cream cheese to crushed Oreos.
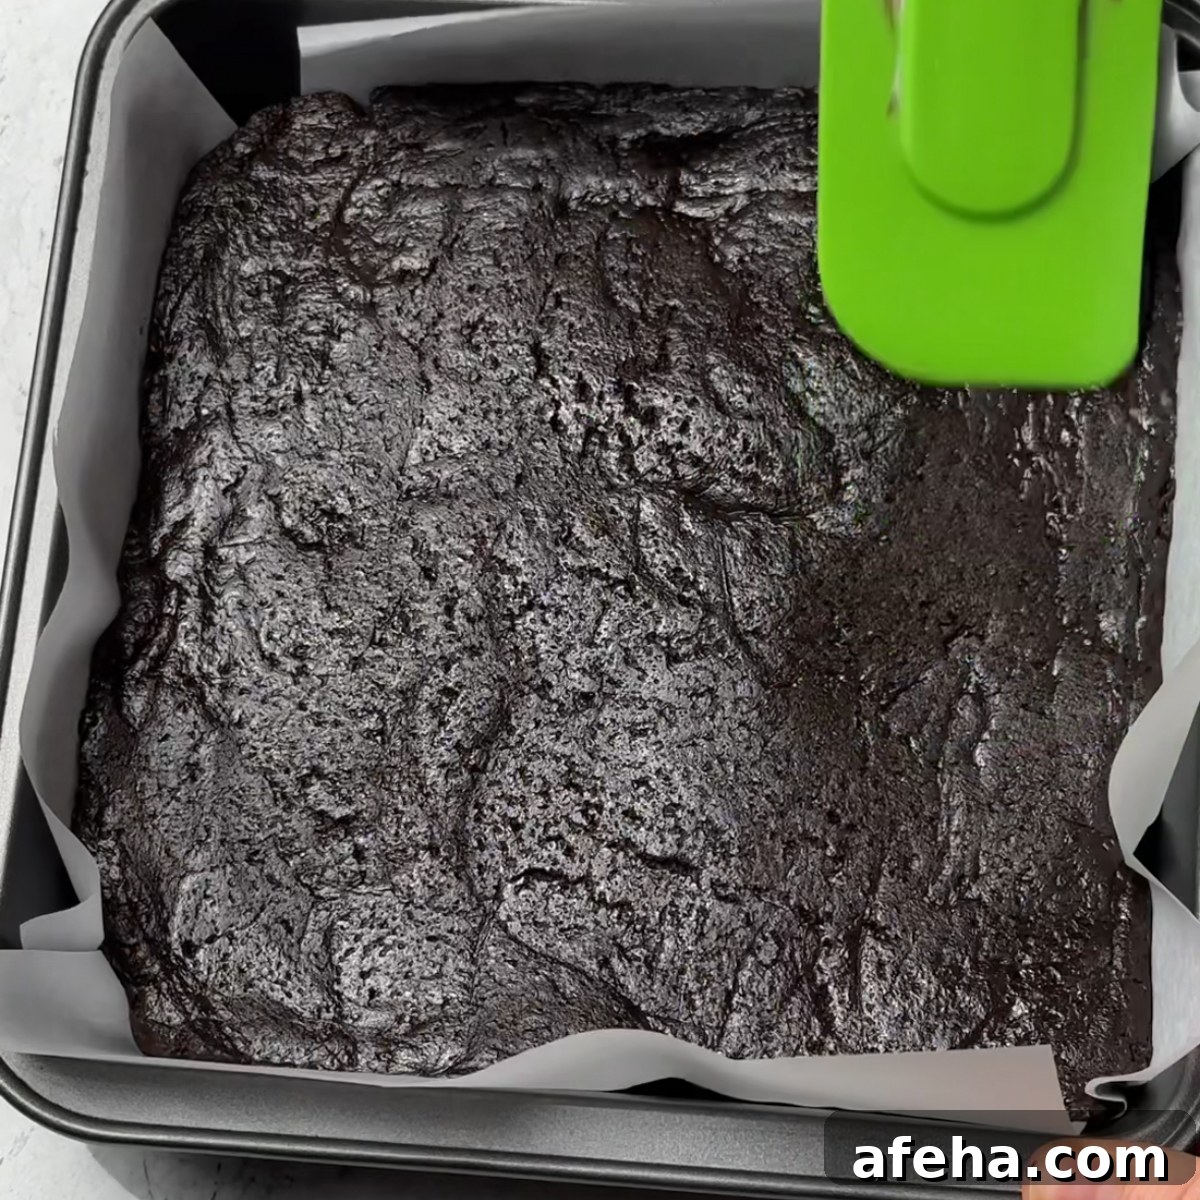
Transfer to a pan, shape, and chill until firm.
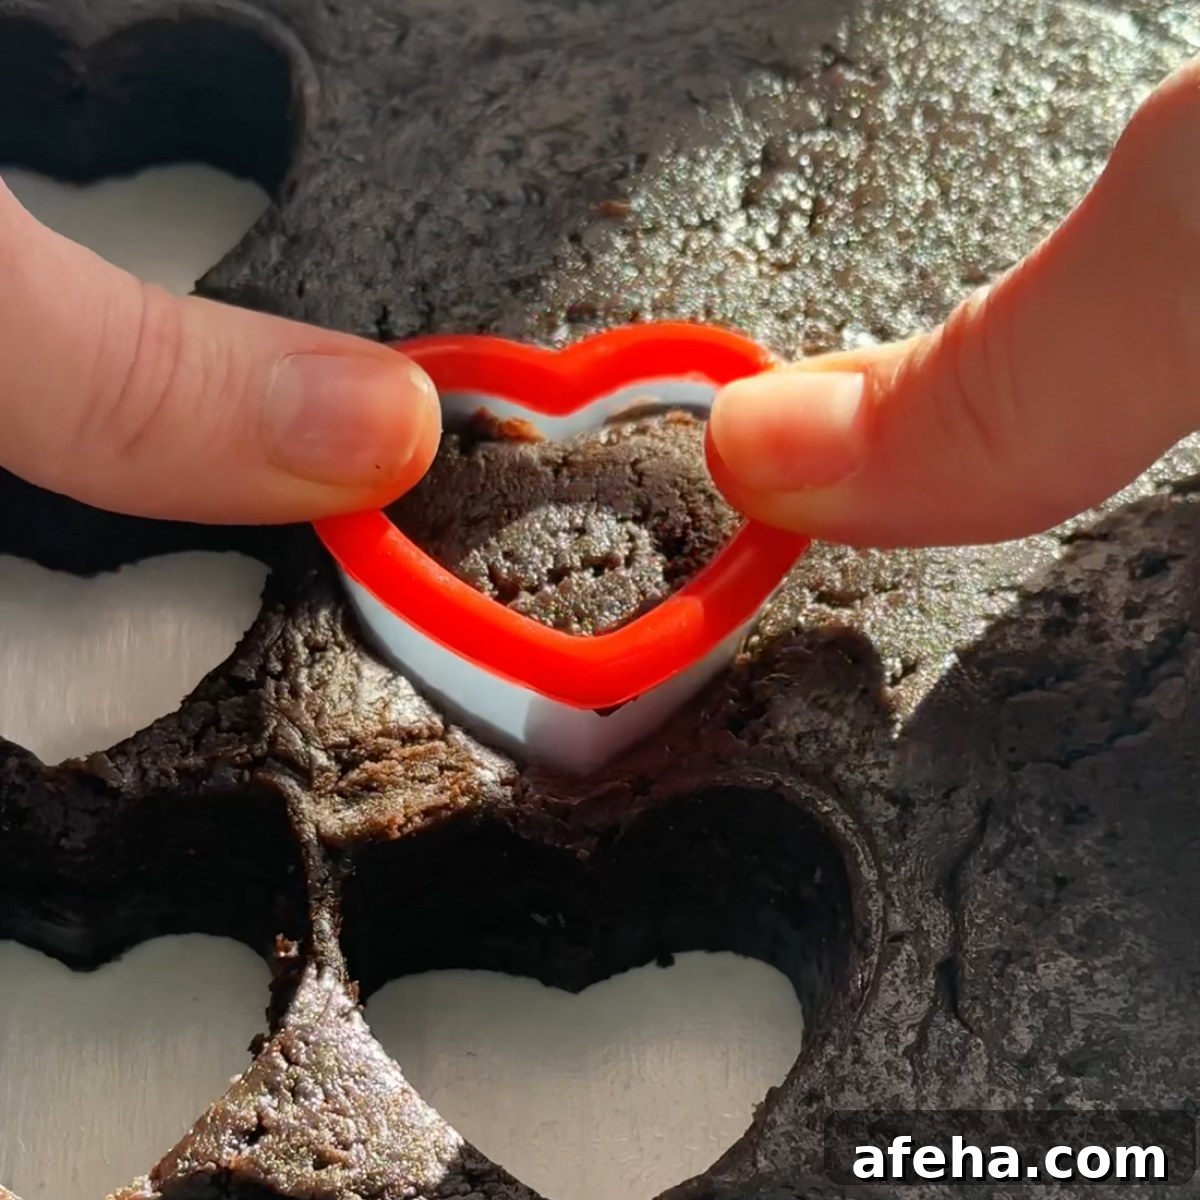
Cut out hearts or other shapes with a cookie cutter.
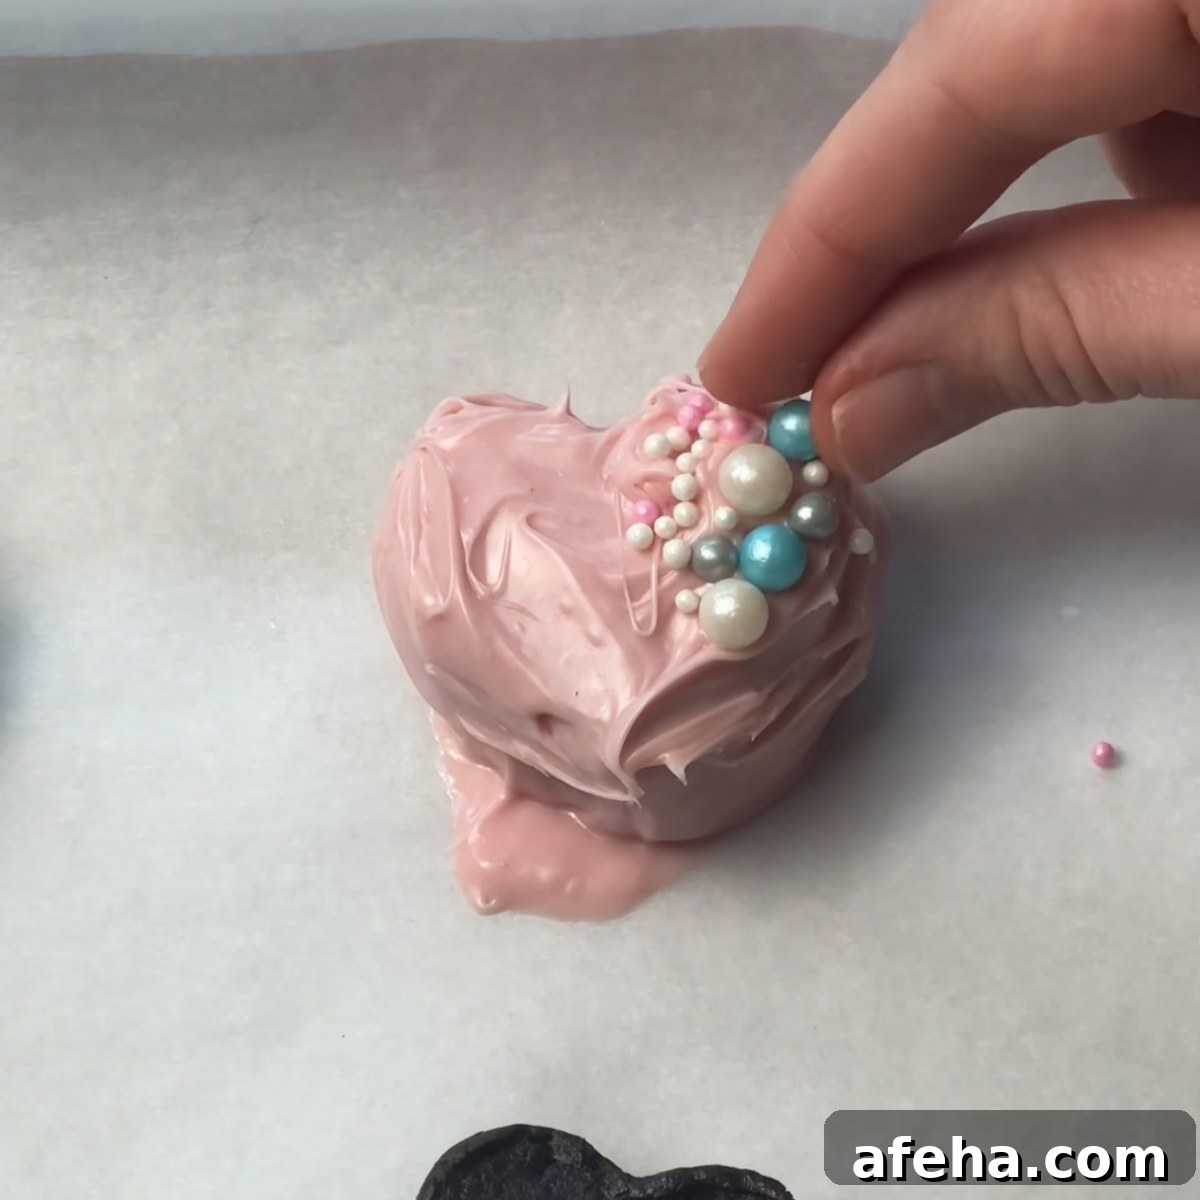
Dip in chocolate and decorate as you like.
Crush the Oreos: Place the Oreo cookies in a food processor and pulse until they form fine crumbs. If you don’t have a food processor, place cookies in a zip-top bag and crush with a rolling pin until finely ground.
Combine with cream cheese: Transfer the crumbs to a mixing bowl and add softened cream cheese. Mix thoroughly with a spatula or hand mixer until the mixture is smooth and uniform, with no large lumps of cream cheese remaining.
Shape and chill: Line an 8×8-inch baking pan with parchment paper. Press the mixture evenly into the pan and smooth the top. Freeze or refrigerate until firm, about 30 minutes.
When firm, remove the slab from the pan and use a cookie cutter to cut out shapes — hearts, circles, or bite-sized squares. Transfer the cut pieces to a parchment-lined baking sheet.
The Fun Part…
Melt the chocolate: Gently melt chocolate in a microwave-safe bowl in short bursts, stirring between intervals, or melt using a double boiler. For a glossier coating, stir in a tablespoon of neutral oil such as coconut oil.
Coat each truffle: Using a fork, dipping tool, or skewer, dip each shaped truffle into the melted chocolate to coat. Tap off excess chocolate and return the coated truffle to the parchment-lined tray.
Decorate: While the coating is still wet, add sprinkles, chopped nuts, or colored drizzle. If using white chocolate and you want a pink finish, add a small amount of red food coloring specifically made for chocolate.
Set and serve: Refrigerate the truffles until the coating is fully set, about 30 minutes. Serve chilled or at cool room temperature. Package them in an airtight container for gifting or storage.
Substitutions for Oreo Cheesecake Truffles
Oreos: Swap with chocolate graham crackers or chocolate wafer cookies for a slightly different texture and flavor.
Cream cheese: For lighter or dairy-free options use Greek yogurt, cashew cream (blended soaked cashews), silken tofu, or mascarpone for a richer taste.
Chocolate coating: Use melted chocolate chips, candy melts in various colors, or even a nut-butter-based coating blended with cocoa and a touch of sweetener for an alternative finish.
Equipment
Food processor or zip-top bag and rolling pin
Large mixing bowl
Spatula
8 x 8 inch baking pan
Baking sheets and parchment paper
Cookie cutter (optional)
Microwave-safe bowl or double boiler for melting chocolate
Storage
Store finished Oreo cheesecake truffles in an airtight container in the refrigerator for up to one week.
For longer storage, freeze in a sealed container for up to one month. Thaw in the refrigerator before serving.
3 Top Tips for Success
Mix thoroughly: Combine the cookie crumbs and cream cheese until smooth for an even texture.
Chill well: Make sure the mixture is firm before cutting shapes or dipping — this prevents crumbling and gives clean edges.
Use quality chocolate: Good chocolate melts and sets better, giving a smoother, more professional finish.
FAQ’s
Yes. Keep Oreo truffles in a sealed container in the refrigerator; they will stay fresh for about a week.
Yes. Freeze truffles in an airtight container for up to a month. Thaw them in the fridge when you’re ready to eat.
Related
If you enjoyed this recipe, try other easy no-bake sweets or quick desserts in your collection. Simple, fast recipes pair well when you need a variety of treats for gatherings or gift boxes.
Pairing
These truffles pair nicely with creamy beverages like milk or coffee and go well alongside light desserts such as fruit compotes or a simple vanilla panna cotta.
Oreo Cheesecake Truffles
Ingredients
- 50 Oreos
- 300 g softened cream cheese
- 300 g semi-sweet chocolate
- 1 tablespoon coconut oil (optional, for chocolate shine)
- Optional: white chocolate and sprinkles
Equipment
- Food processor (or zip-top bag and rolling pin)
- Large bowl
- Spatula
- 8 x 8 inch baking pan
- Baking sheet and parchment paper
- Cookie cutter (optional)
- Microwave-safe bowl or double boiler
Method
- Crush the Oreos into fine crumbs.
- Mix the crumbs with softened cream cheese until smooth.
- Press the mixture into a lined 8×8 pan and chill until firm.
- Cut into shapes with a cookie cutter or slice into pieces.
- Melt chocolate and dip each piece to coat. Decorate while chocolate is wet.
- Refrigerate until the chocolate sets, about 30 minutes.
- Serve chilled and enjoy.
Notes
Pro tip: Add a few drops of oil to melted chocolate for a shinier finish. For colored chocolate, tint white chocolate with oil-based or specially formulated chocolate colorings.
Food safety
- Do not leave perishable foods at room temperature for extended periods.
- Keep an eye on cooking processes and never leave active heat sources unattended.
- Use appropriate cooking oils and avoid overheating to reduce harmful compounds.
- Ensure proper ventilation when using gas stoves or other open flames in the kitchen.
Follow basic food-safety guidelines to keep your desserts safe and enjoyable.