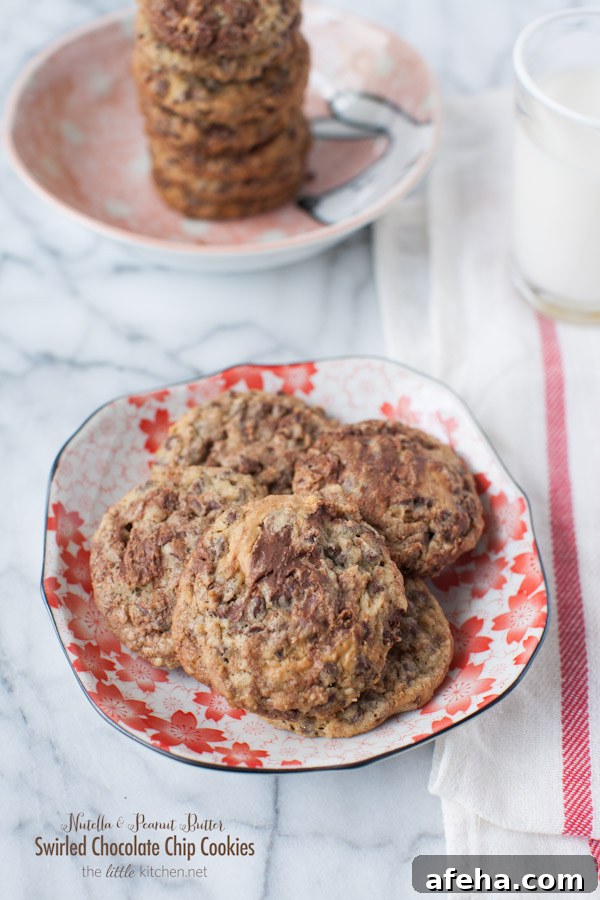
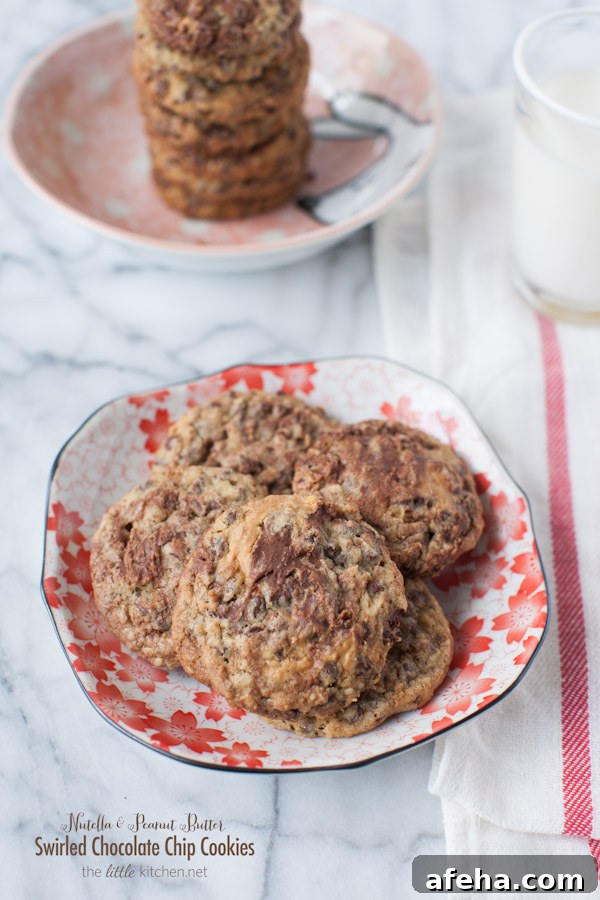
These Nutella and peanut butter swirled chocolate chip cookies are my latest obsession. I started with my favorite chocolate chip cookie base and experimented by adding spoonfuls of Nutella and creamy peanut butter. The first batch needed a small tweak, but once adjusted, the cookies came out perfectly—soft, chewy and studded with mini chocolate chips, with beautiful swirls of chocolate hazelnut spread and peanut butter in each bite.
I like to grind rolled oats in a food processor for this dough, as it adds a pleasant texture and a hint of wholesome flavor without being heavy. The dough is simple to prepare: combine the dry ingredients, cream the butter and brown sugar, add the egg and vanilla, then fold in the chips. Drop small dollops of peanut butter and Nutella on top of the dough and gently fold to create the swirls—you want visible streaks rather than a uniform mix.
For best results, portion the dough with a medium cookie scoop and freeze the scoops for a few hours before baking. Freezing helps the cookies hold their shape and gives a great bake with slightly crisp edges and a soft center. When baked, the cookies show distinct ribbons of Nutella and peanut butter, and the combination of smooth hazelnut-chocolate and nutty peanut butter is irresistible.
Below is the complete recipe formatted clearly so you can recreate these at home. The method is straightforward, and the dough stores well in the freezer for quick baking later.
Nutella-Peanut Butter Swirled Chocolate Chip Cookies Recipe
Ingredients
- 1/3 cup rolled oats
- 1 cup plus 2 tablespoons unbleached all-purpose flour
- 3/4 teaspoon baking soda
- 1/4 teaspoon salt
- 1/2 cup unsalted butter (1 stick), softened
- 3/4 cup packed light brown sugar
- 1 1/2 teaspoons pure vanilla extract
- 1 large egg
- 1 3/4 cups miniature semi-sweet chocolate chips
- 1/4 cup creamy peanut butter
- 1/4 cup chocolate hazelnut spread (Nutella or similar)
Instructions
- Pulse the rolled oats in a food processor until semi-fine. Transfer to a medium mixing bowl and add the flour, baking soda and salt. Stir to combine and set aside.
- In the bowl of a stand mixer or with a hand mixer, cream the softened butter and brown sugar on low speed until combined. Add the vanilla and the egg and mix on medium until smooth, scraping the bowl once or twice to ensure even mixing.
- Add the dry ingredient mixture to the wet ingredients in batches and mix on low until just incorporated. Avoid overmixing to keep the cookies tender.
- Remove the bowl from the mixer and fold in the miniature chocolate chips with a rubber spatula.
- Drop small spoonfuls of creamy peanut butter and chocolate hazelnut spread onto the cookie dough. Using the spatula, gently fold the dough a few times to create swirls—be careful not to fully blend them; you want visible streaks of peanut butter and Nutella throughout the dough.
- Use a medium cookie scoop (about 1.5 tablespoons) to portion the dough onto a parchment-lined baking sheet. For best texture and flavor, freeze the scooped dough for at least 3 to 4 hours (or overnight). Once frozen, the dough portions can be transferred to labeled zip-top bags for storage.
- To bake: Place dough portions on a parchment-lined baking sheet at least 1 1/2 to 2 inches apart. Bake in a preheated 350°F (175°C) oven for 11–12 minutes, or until desired doneness. After removing from the oven, lift the parchment onto a cooling rack and let the cookies cool completely before storing.
- Store cooled cookies in an airtight container with a slice of sandwich bread to help retain softness, if desired.
Notes
Tip: Freeze cookie dough portions after scooping. When the dough is completely frozen, transfer the portions to labeled bags with the date and baking time. This makes it easy to bake fresh cookies on demand.
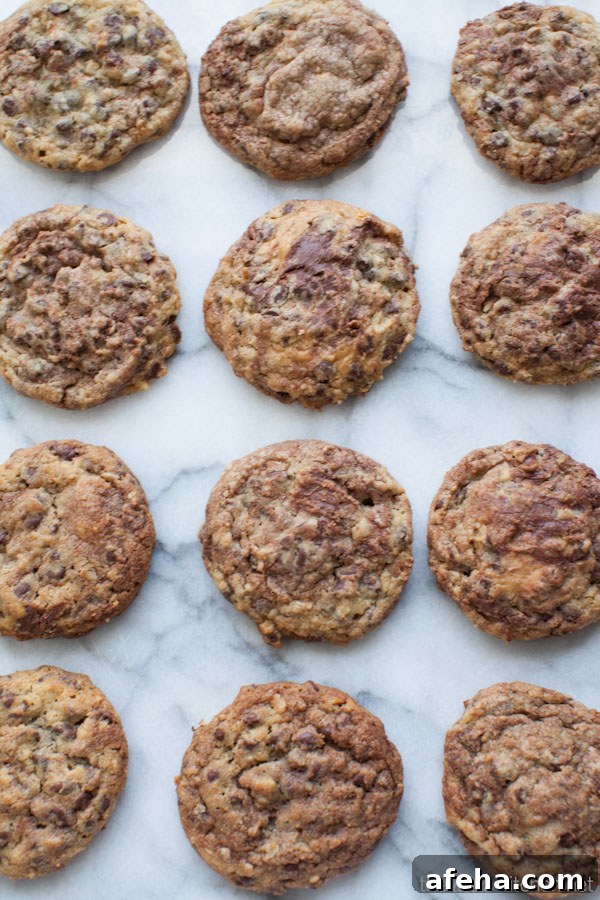
These cookies deliver a delightful contrast: the peanut butter provides a nutty tickle on the roof of your mouth while the Nutella adds a smooth, chocolate-hazelnut richness. The mini chocolate chips punctuate each bite with familiar chocolatey pockets that melt into the swirls.
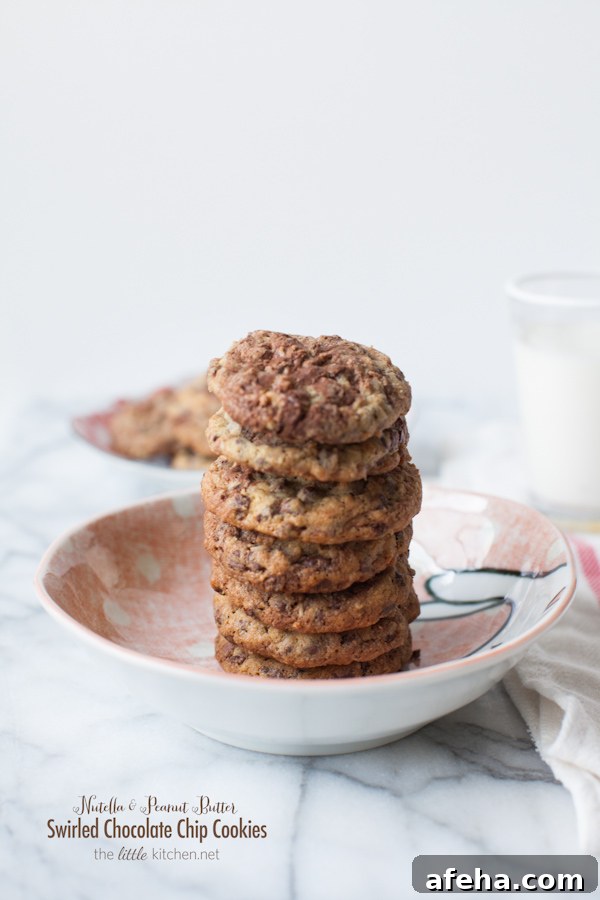
YES. Make these—you’ll be glad you did.
Disclosure: This post contains affiliate links.