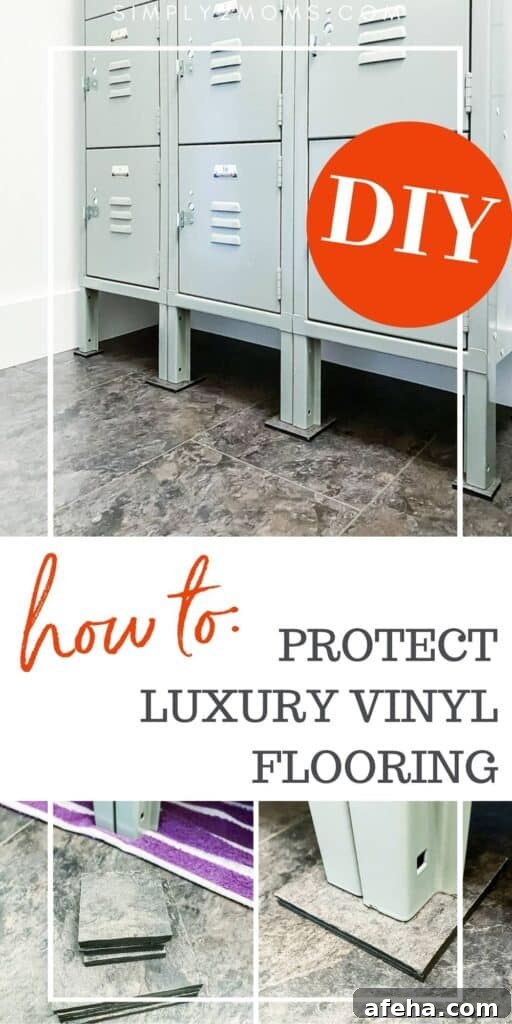
Here are three easy steps to protect your new luxury vinyl flooring. It’s simple, effective, and costs nothing if you use leftover tile.
I recently completed a laundry room makeover and installed luxury vinyl floating flooring. The install was straightforward — the interlocking planks clicked into place right over the existing floor, with no special prep required. That made the whole project so much easier.
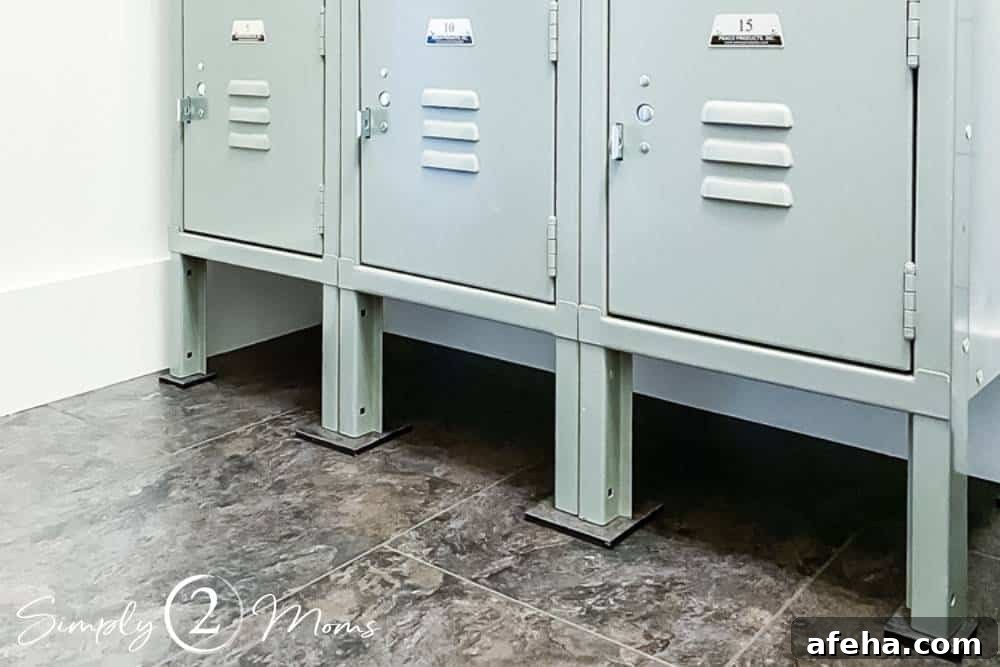
To finish the room I added a set of metal lockers for storage. They’re a neutral gray that suits my modern farmhouse style and they hold far more than the old wire shelving did. The lockers are great, but once they’re filled they become quite heavy. I didn’t want the metal feet to scratch or dent the new vinyl.
How to Protect Luxury Vinyl Flooring
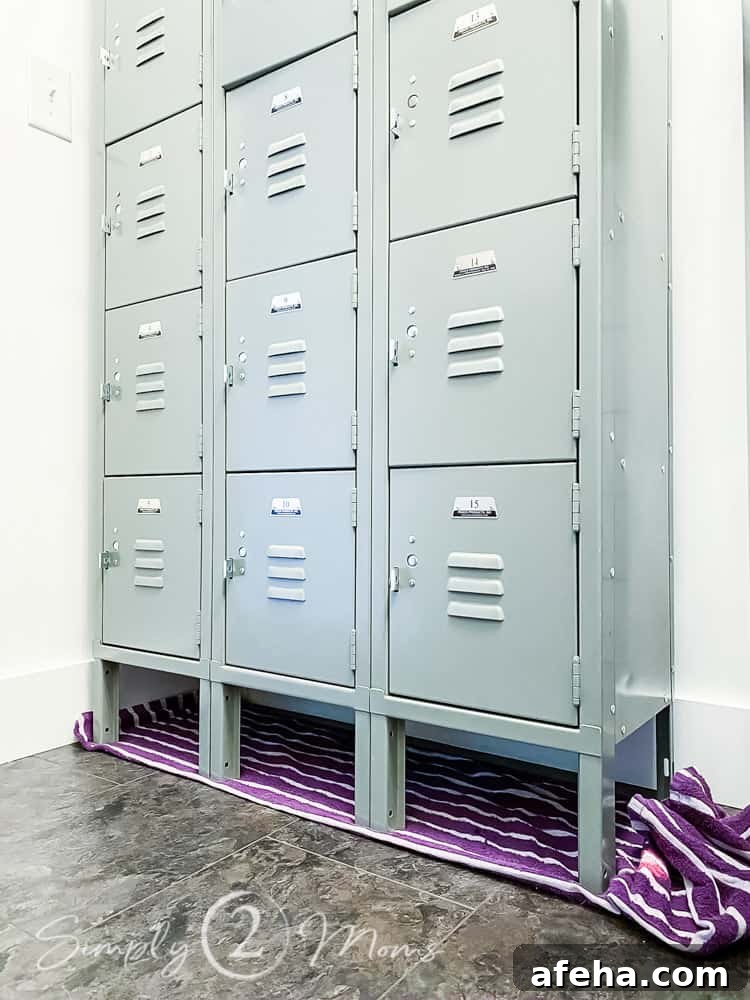
When the lockers arrived I initially placed a towel under the legs to avoid scratches while moving them. The locker legs are metal and unfinished on the bottom, which would have definitely damaged the vinyl if left unprotected. Felt pads could work for flat-bottomed furniture, but the shape and roughness of these legs made that option visually unappealing and impractical.
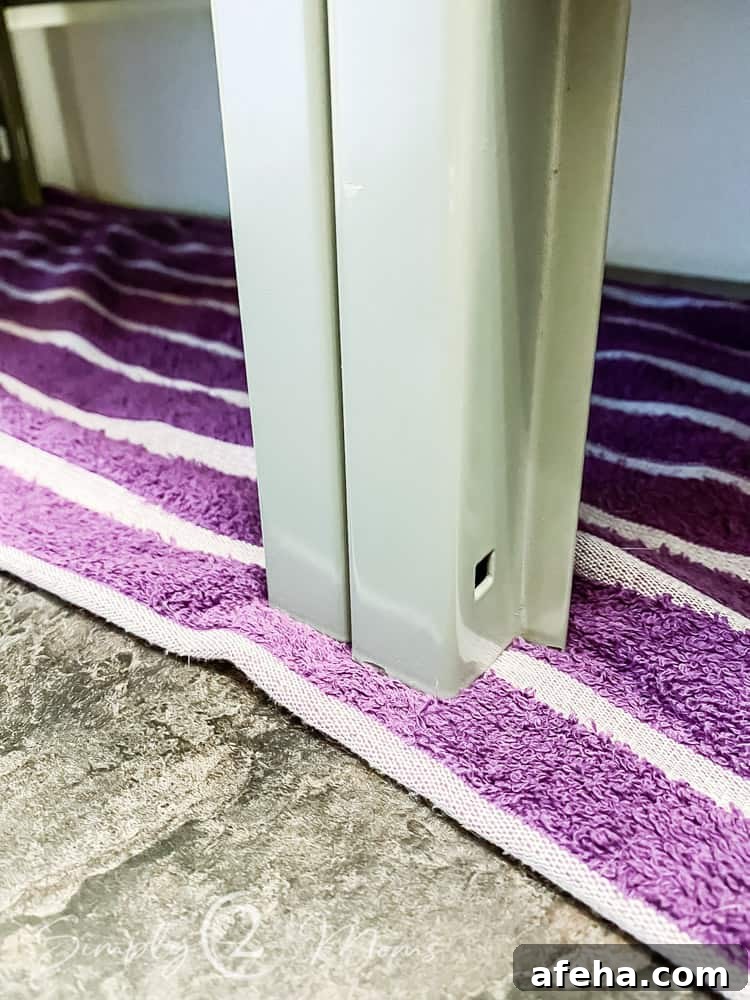
I considered a large floor mat under the entire unit, but didn’t want to cover my new floors. Instead, I had a simple idea that gave a neat, seamless look: make small floor pads from leftover vinyl flooring tiles.
What Can You Use to Protect Vinyl Floors?
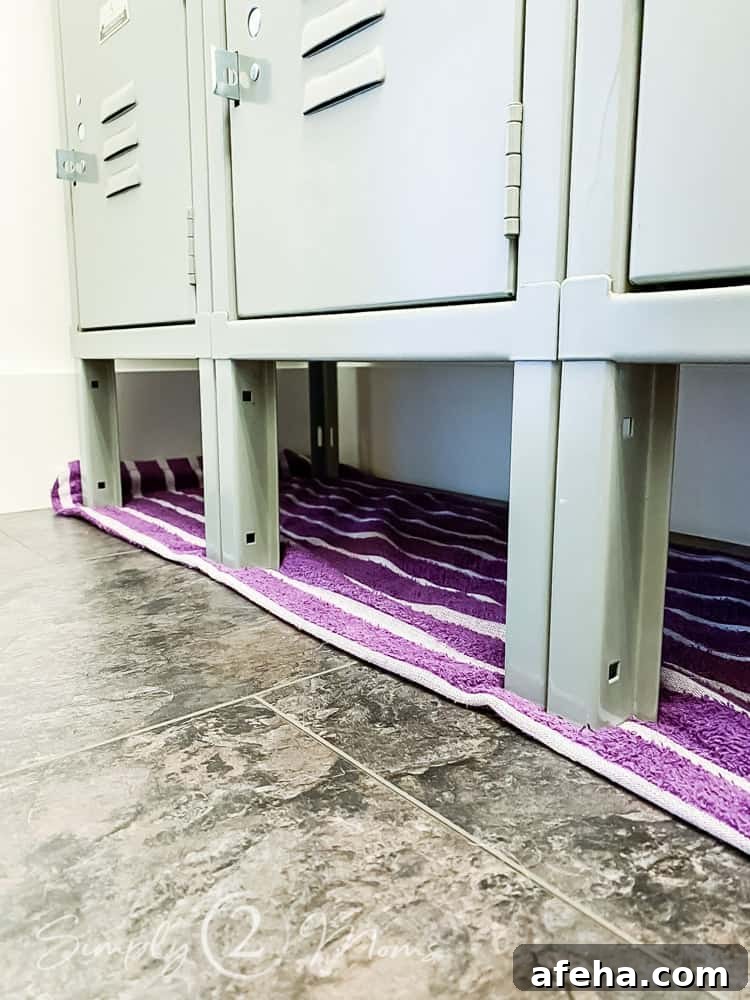
Using leftover interlocking vinyl tiles lets you create custom pads that match the floor and sit beneath each leg. The tiles are thick enough to prevent dents and have a soft backing that won’t scratch the surface. Best of all, they’re free if you have scrap pieces.
3 Simple Steps to Protect Floors
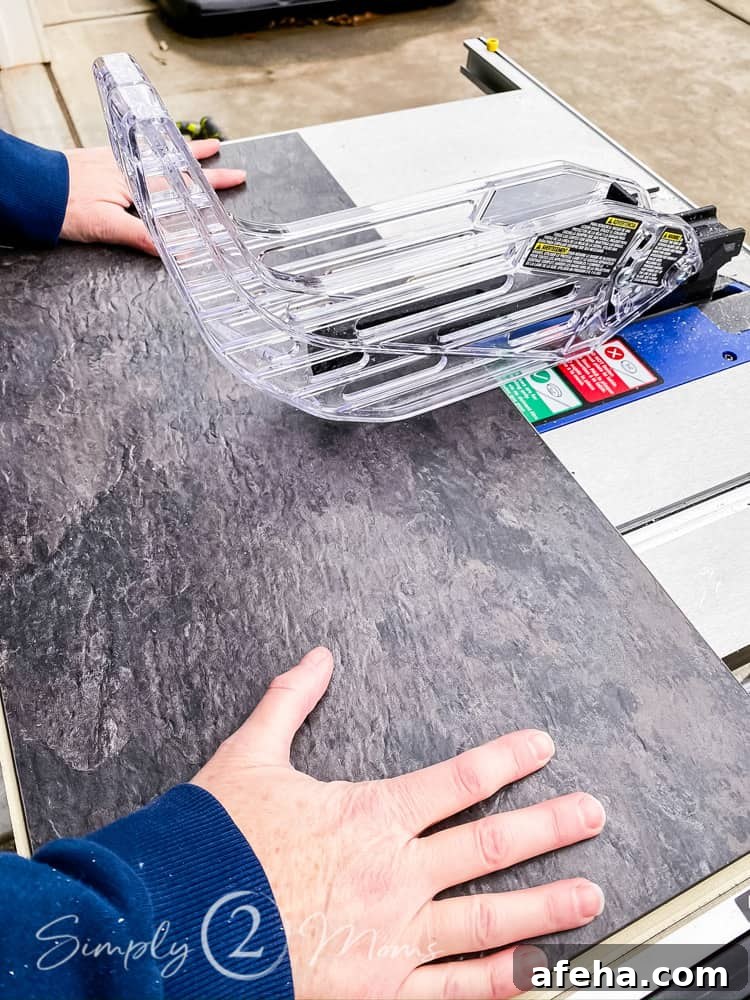
1. Cut Floor Tile
Use a leftover plank or tile from your installation. Cut pieces to fit the footprint of each leg: for wider double legs I made 3×3 inch squares, and for narrow single legs I made 2×2 inch squares. A table saw or utility knife will do the job depending on the tile construction. The thickness of floating vinyl gives good protection and stability.
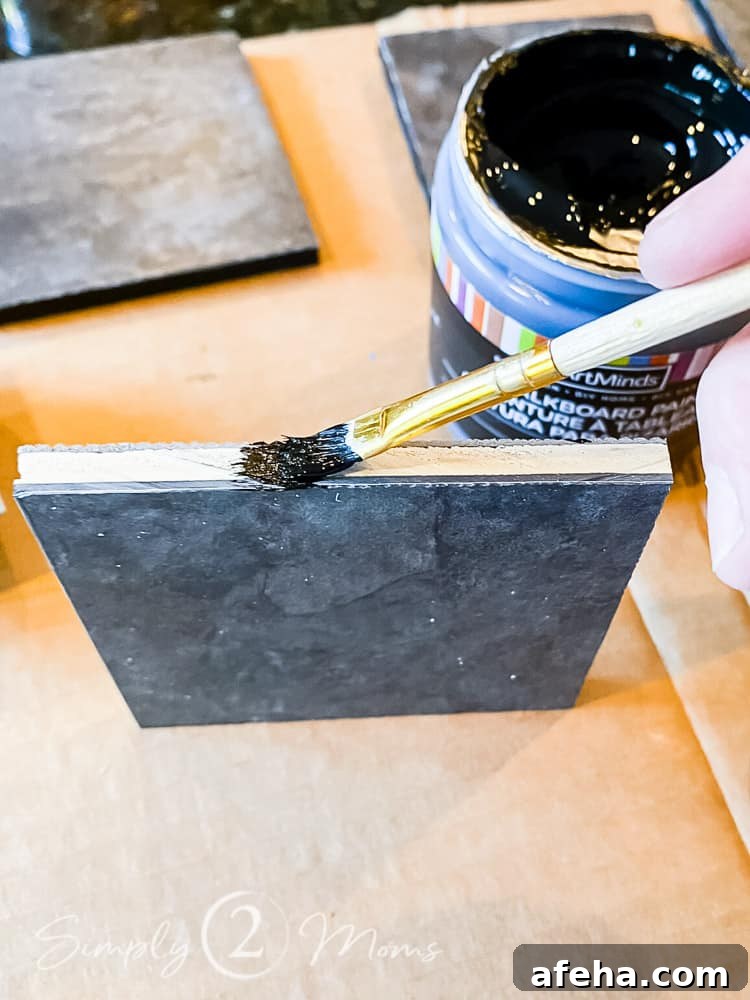
2. Paint Edges of Cut Pieces (Optional)
If the core of the plank is lighter than the finished surface, paint the exposed edges to blend the pad with the floor. I used black chalkboard paint, but any craft paint that matches your flooring will work. This step improves the finished look and makes the protectors less noticeable.
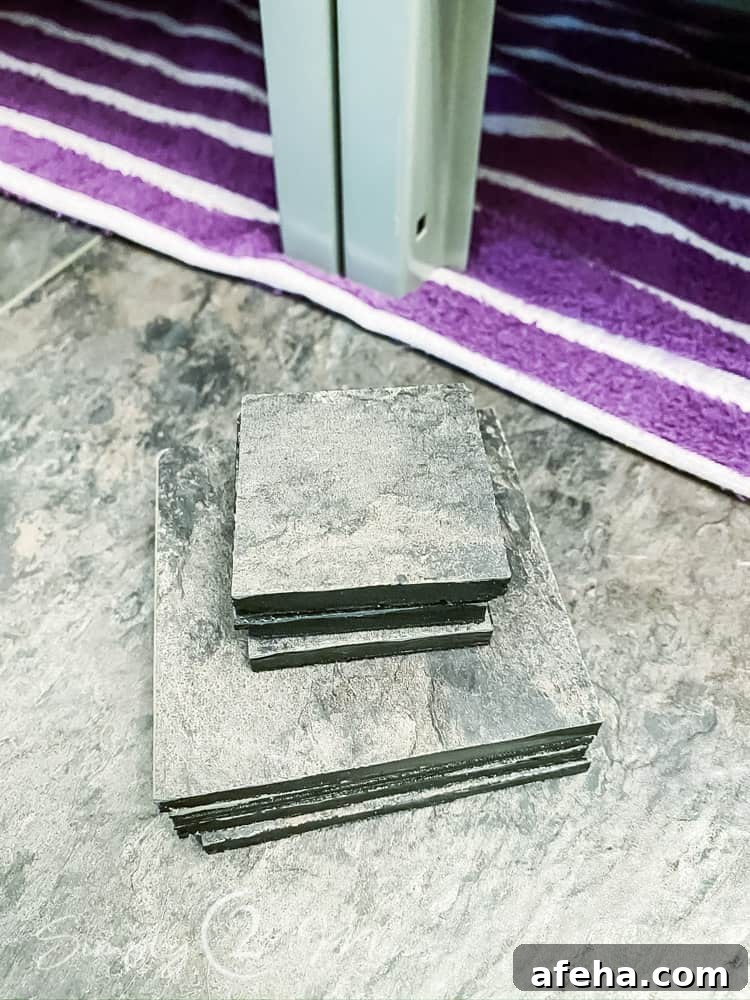
3. Place Floor Coasters Under the Legs
Lift the furniture slightly and slide a tile pad under each leg. For heavy units you may need a helper to lift while you position the coasters. Once in place they blend with the floor and distribute weight to prevent dents and scratches. These “floor coasters” provide discreet, durable protection for any heavy item.
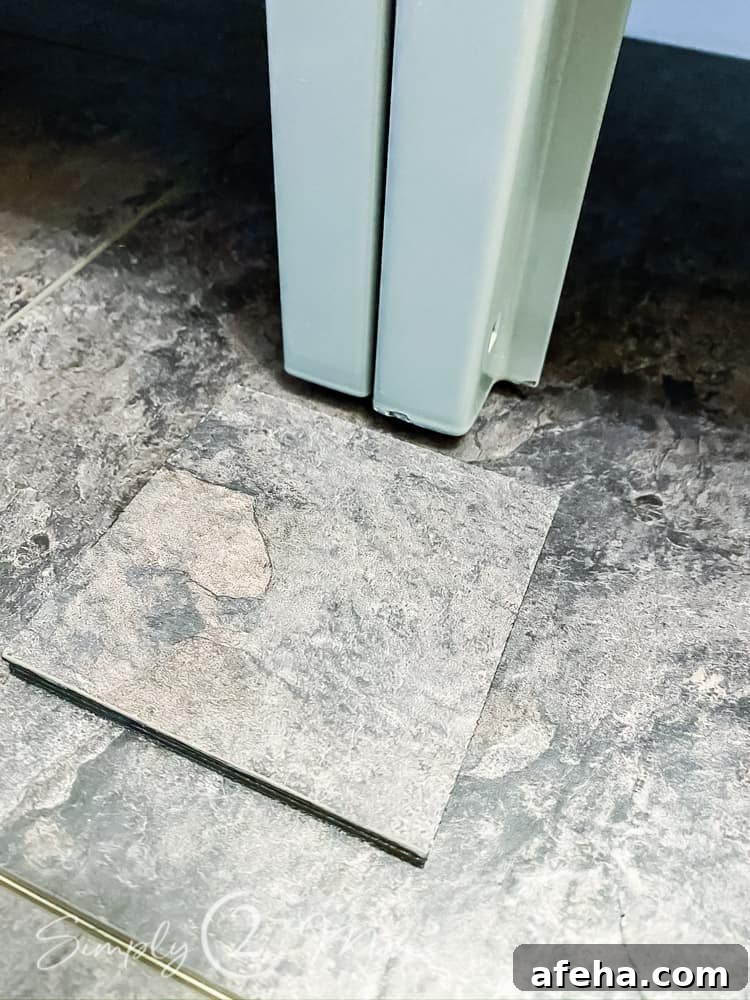
After installing the coasters I removed the towel and set the lockers down. The protectors blend well with the flooring and provide solid support under each leg. Felt pads would have been visible and awkward with these particular legs, but the cut vinyl looks seamless and intentional.
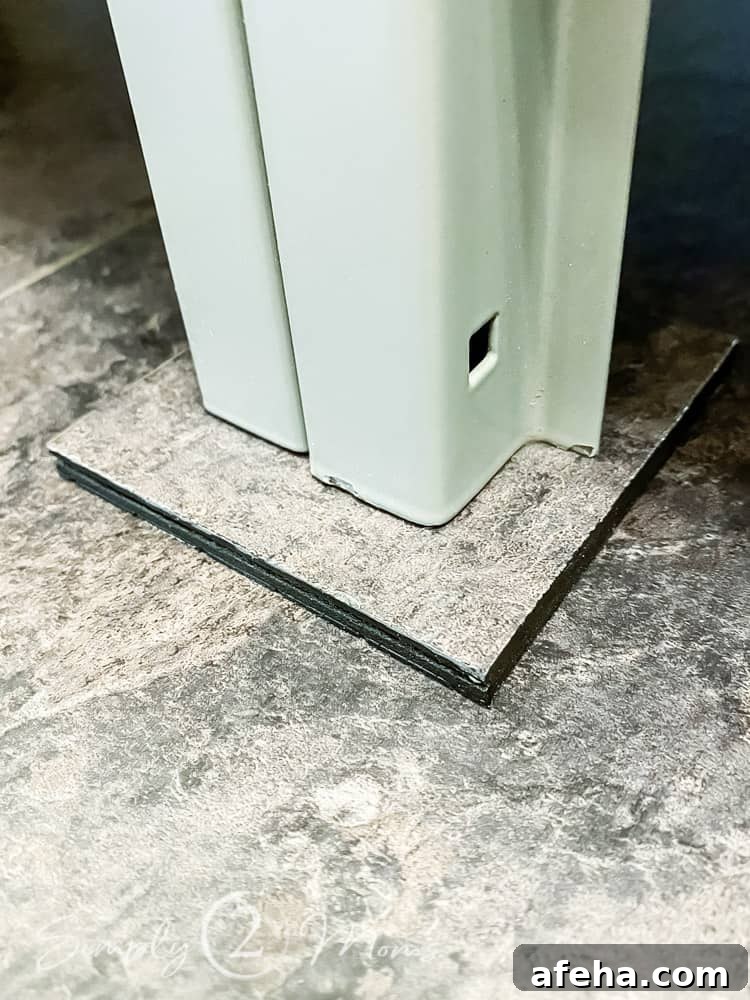
These protectors work great for protecting vinyl under furniture, appliances, or any heavy item that could cause damage. They’re inexpensive, customizable, and visually discreet. Taking ten extra minutes to make them saved me from worrying about scratches or dents on my new floor.
You may enjoy other projects from my laundry room makeover, including shiplap walls, custom shelves, and a wood interior door — all paired with the same modern farmhouse aesthetic.
If you have questions or suggestions, feel free to contact me or leave a comment. And don’t forget to pin this post to remember the idea next time you install floating vinyl flooring.